Submitted by Bob Bhatnagar on
One of the more interesting features that came along with the iPhone 5 launch is the built-in Panorama option in iOS 6. Consisting of high quality photos stitched together on the fly, Apple's panoramic images come in at around 17 MB (with a resolution of 10,800 x 2332 pixels). Accessing panoramic mode is simple, just open the Camera and tap Options. Touch the grey Panorama button in the middle of the screen and a white arrow appears.

One useful tip comes into play before you start recording the panorama. Tapping the white arrow will change its direction, which allows the panorama to be recorded from either left to right, or right to left. Depending on how the scene is laid out, what the ambient lighting looks like, and your position, sometimes switching directions can result in a better image.
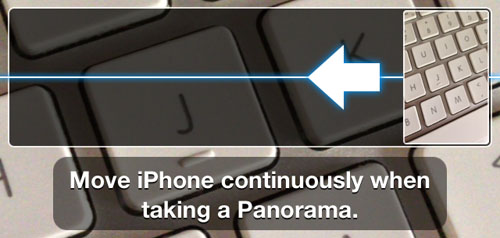
Tapping the shutter release button on screen, or pressing the volume up or down buttons on the side of the iPhone will start recording. Along with the same sound that chimes in when video recording starts, instructions will appear on the screen to guide you through the recording process. Move the device constantly in the direction of the arrow, and keep the white arrow as close to the center line as possible.
If the Camera app needs you to slow down, it will let you know. Follow the on-screen prompts to ensure best results and guarantee the software has enough data to stitch together. Once the shutter release is tapped again, or the panorama is complete, the file is saved to the camera roll. The panorama can be used and shared just like any other photo. Messaging panoramic shots to friends is even possible with iMessage or MMS.
To get some really cool images, try making a vertorama. Basically a vertorama is a vertically oriented panorama. Doing this with the iOS 6 camera software works just the same as panning from one side to the other. Instead of holding the iPhone in a portrait orientation, the trick is to hold the iPhone in landscape (horizontally) while in Panorama mode. The white arrow will either be pointing up or down, and you can tap the arrow or turn the device around to switch directions.Take a vertorama by recording in the up or down direction and the image will be saved automatically with the correct orientation. Opening up one of these vertical panoramas in the Camera Roll reveals a tall, slender image instead of the typical wide, horizontal panorama. This method can be used to easily create unique perspectives.