Submitted by Jon Reed on
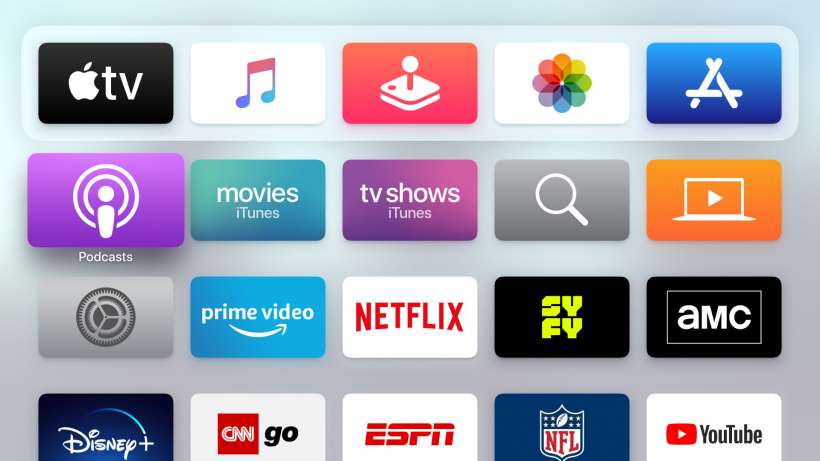
Taking a screenshot of the Apple TV 4K is different than taking one on the Apple TV 4G because it does not have a USB-C port to connect to your Mac with. Instead, you'll have to connect Xcode to your Apple TV 4K via Wi-Fi in order to take screenshots. Here's how to do it:
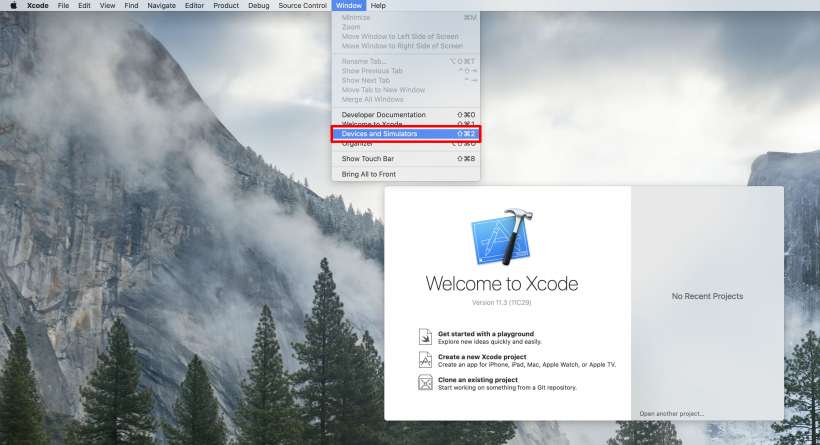
- First, make sure your Mac and Apple TV 4K are connected to the same Wi-Fi and on the same channel (you don't want one on your 2.4 GHz channel and the other on your 5 GHz channel). Download the latest version of Xcode for you Mac if you don't already have it. Open it and go to the Window dropdown menu and select Devices and Simulators.
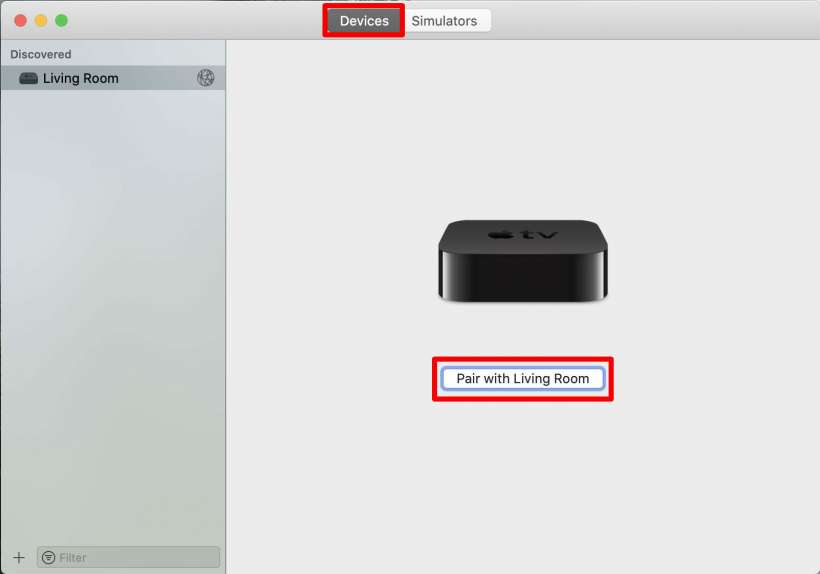
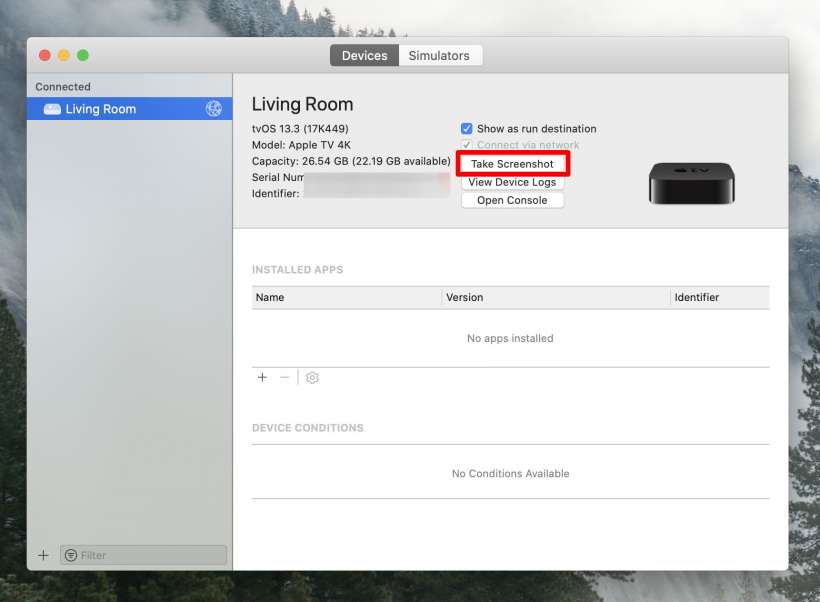
- In the window that opens, under the devices tab, you should see that your Apple TV 4K has been discovered (in this example the Apple TV 4K is named "Living Room"). Click on "Pair with [name of your Apple TV]."
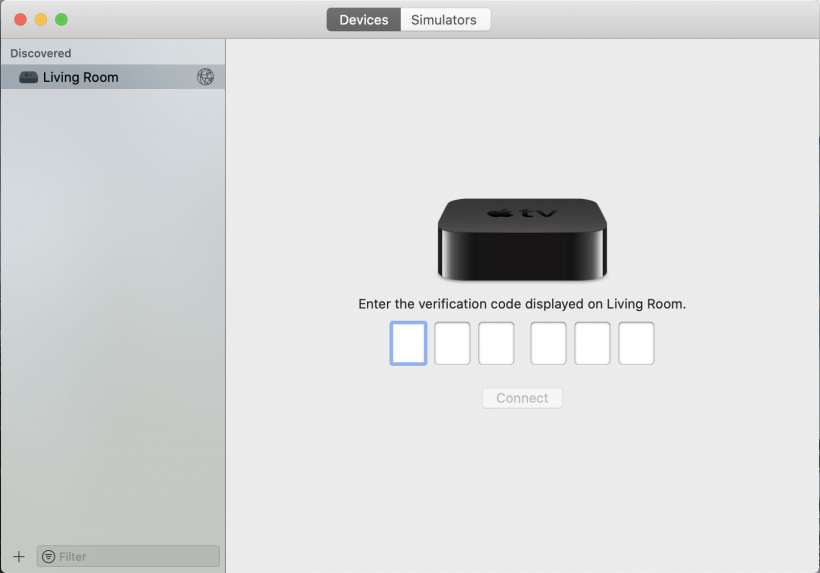
- Now you will be prompted for a verification code. This code will appear on screen where your Apple TV is connected. Enter it and click Connect.
- If this is the first time you have connected with Xcode it will probably give you a "busy" message of some sort while it prepares its connection. This could take a while but you should eventually see that it has connected. Once it has, you can take a screenshot with the screenshot button. Unfortunately you won't be able to see the screen you are capturing unless, of course, you are in the same room as the TV. Your screenshots will show up as .jpg files on your desktop by default.
tags:
