Submitted by Frank Macey on
Capturing the screen to an image file couldn't be easier on the iPhone. In fact, the same procedure works on all iOS devices. Press the sleep and home buttons at the same time and the screenshot goes right to the camera roll. But what happens if you want to grab a screen capture from the fourth-generation Apple TV?
Getting a screenshot off the Apple TV 4G takes a bit more effort, however it can be done with the right setup. First of all there are a few things you'll need before starting the process.
- a Mac computer
- Xcode software installed
- a USB-C cable
Xcode can be installed for free from the Mac App Store. Once Xcode is on your computer, you are ready to take screenshots using the Apple TV.
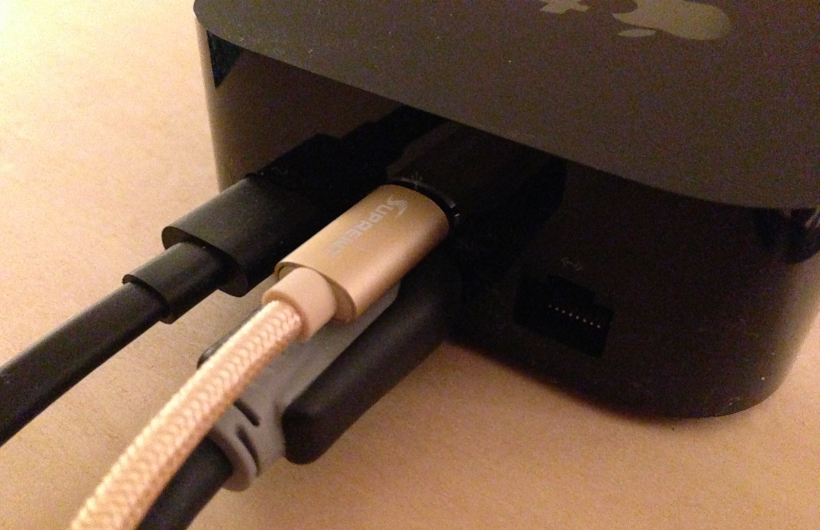
You can get the gold USB-C cable pictured below on Amazon1. Connect the Apple TV to your Mac using the USB-C cable

Newest iPhone FAQs
2. Open Xcode on the Mac
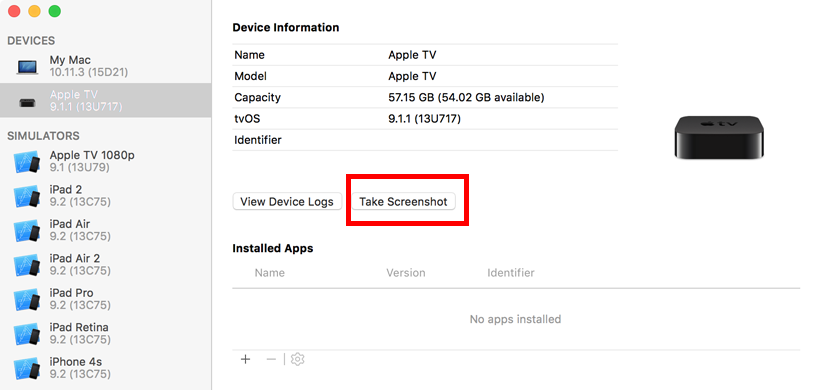
3. Navigate to Window -> Devices
4. Select your Apple TV from the Devices list on the left side

5. Click the Take Screenshot button
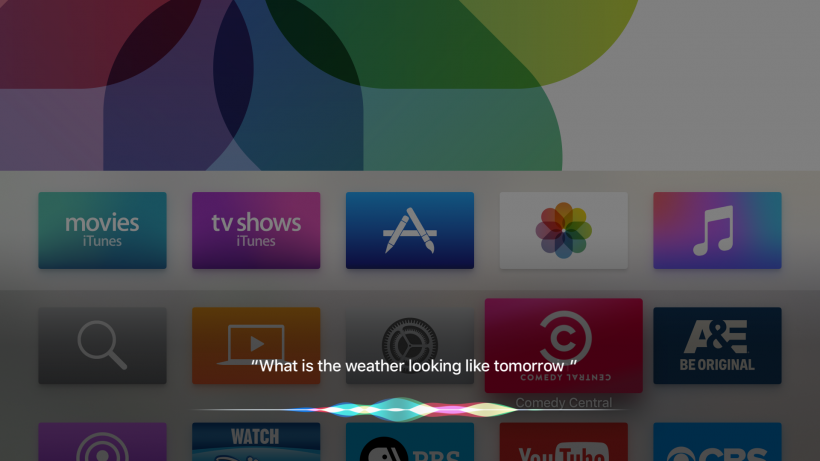
Every time the Take Screenshot button is clicked, the current display output from the Apple TV appears as an image file on the Mac desktop. Screenshots are named with a timestamp, just like Mac screenshots.
While the Apple TV can deliver screenshots without being connected to a TV, keeping the HDMI cable plugged in means you can actually see what you're capturing.
