Submitted by Fred Straker on
Gone are the days of launching iTunes to back up an iPhone. Since the release of macOS Catalina, the Music app has taken its place. iOS device owners looking to back up their data locally must look elsewhere for a solution. Turns out Apple has moved the iPhone backup process to the Finder in macOS.
As always, the iPhone or iPad can be backed up directly to iCloud. But keeping a local backup isn't a bad idea if you have enough storage on your Mac. If your Mac is running short on disk space, an external drive can be used to back up iOS devices.
Optional: To back up iPhone or iPad to an external drive, you must change the default iOS backup directory first. Click here for instructions.
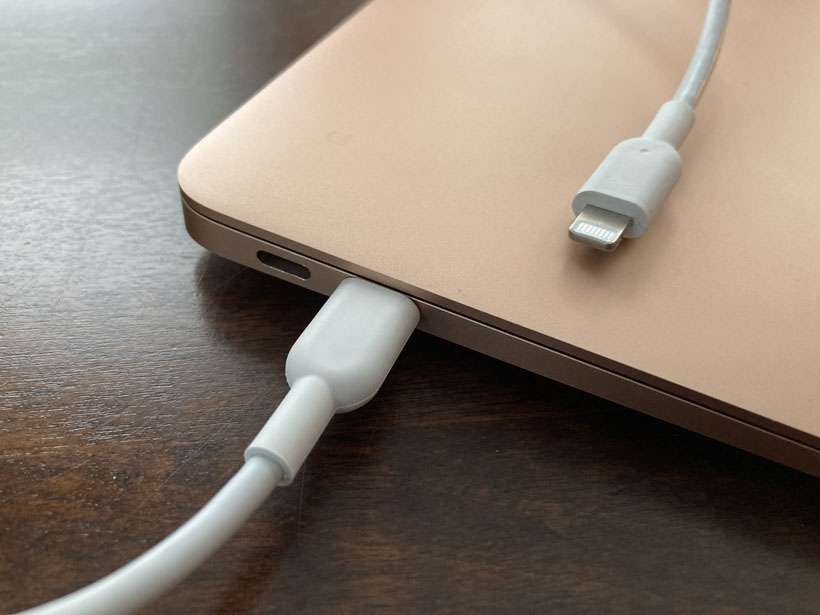
Follow these steps to back up iPhone or iPad to a Mac running Catalina (macOS 10.15) or later:- Connect your iPhone to the Mac with a USB cable
- Unlock the iPhone
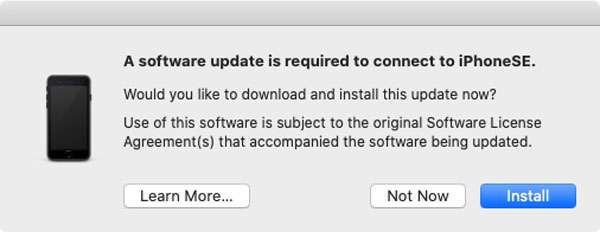
- If prompted, click Install to update the macOS software
- Launch the Finder app to open a new window
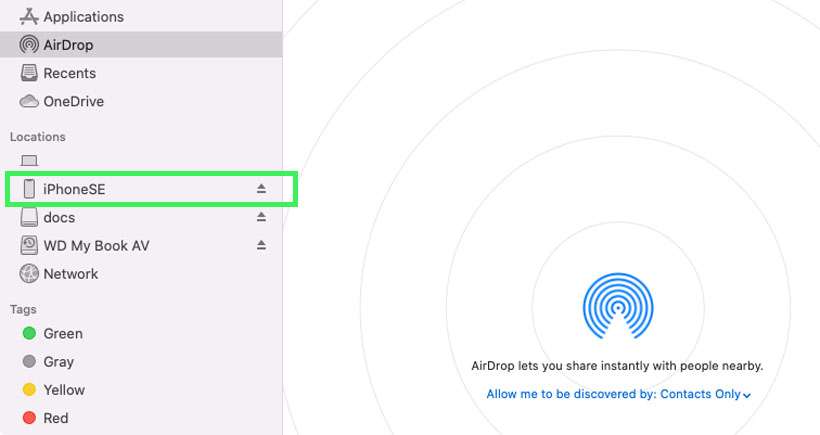
- In the Sidebar under Locations, click the name of your iPhone
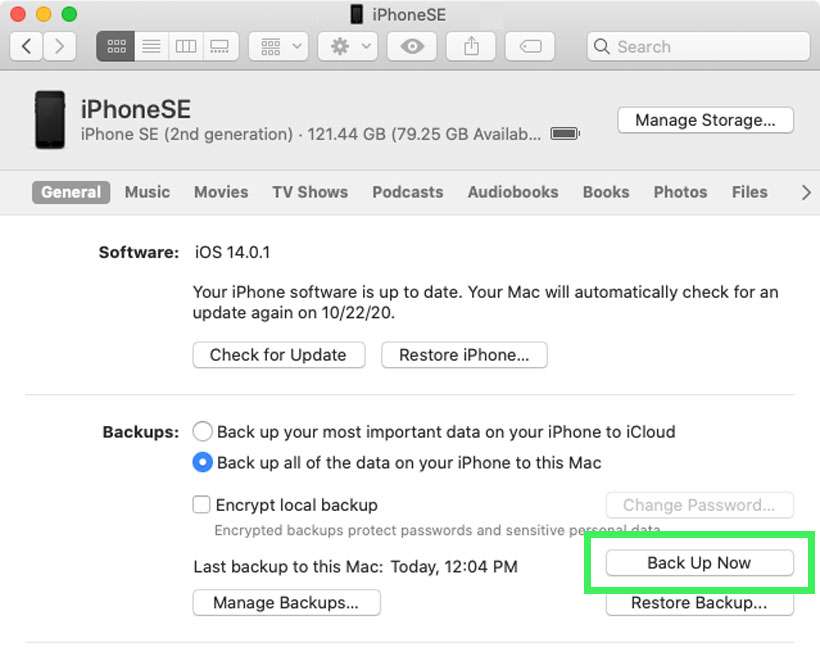
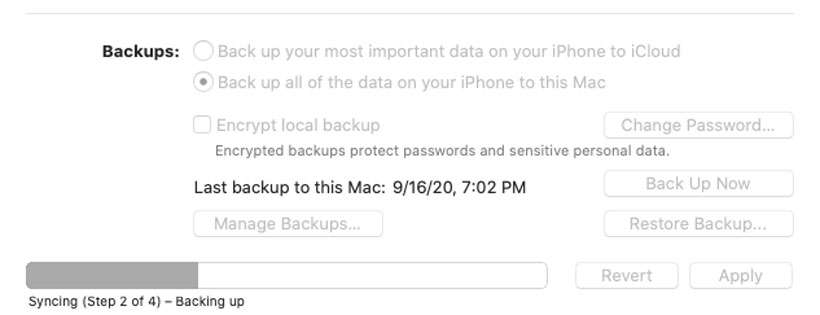
- Select Back up all of the data on your iPhone to this Mac
- Then click the Back Up Now button
- The iPhone will sync and back up to the Mac showing a progress bar
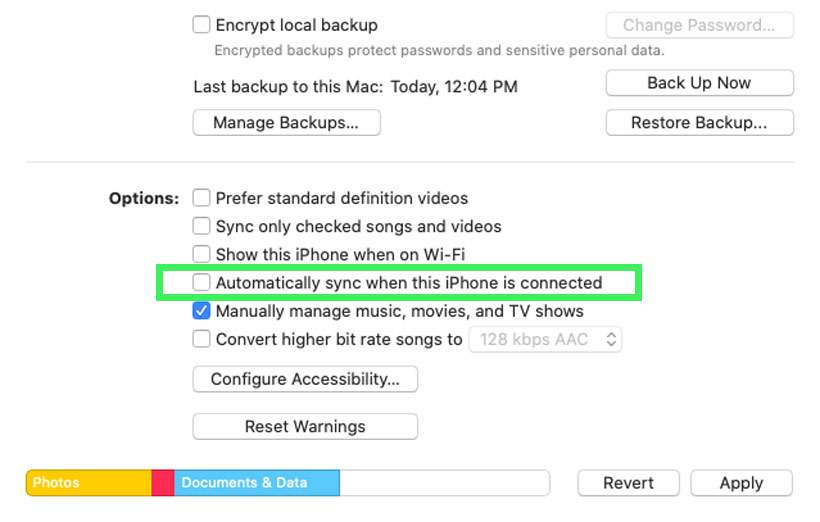
- The iPhone may start backing up automatically when connected. Uncheck Automatically sync when this iPhone is connected to prevent the backup from starting next time
