Submitted by Jon Reed on
Workflow is a tool for iOS that allows you to automate a series of actions. For example, you could create a workflow that creates a GIF from a recording with a simple tap, or quickly add text to a photo and upload it to your favorite social media sites. There are endless combinations of tasks that you can automate and many of its fans claim they couldn't work without it, so if you haven't dabbled with the Workflow app you should, maybe you will come up with a few that will make some tedious tasks easier.
The app has many pre-made workflows that you can import and customize to your own needs, here's how to do it on iPhone and iPad:
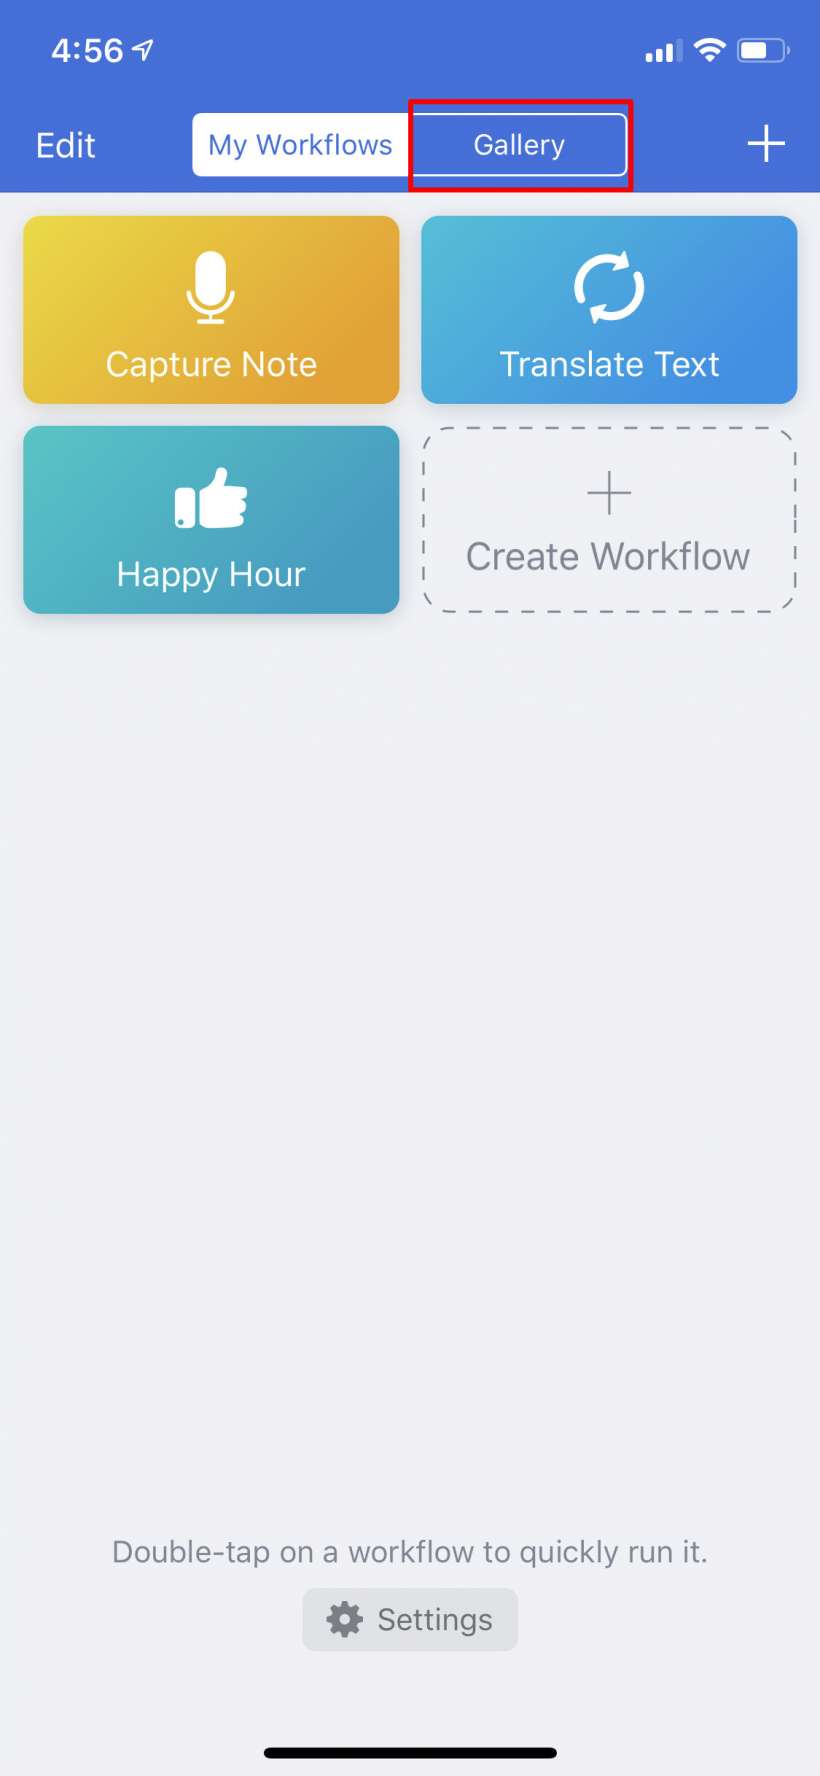
- Download Workflow from the app store and open it. You will have a couple default workflows ready to go, but the full list of pre-made functions is in the Gallery tab.
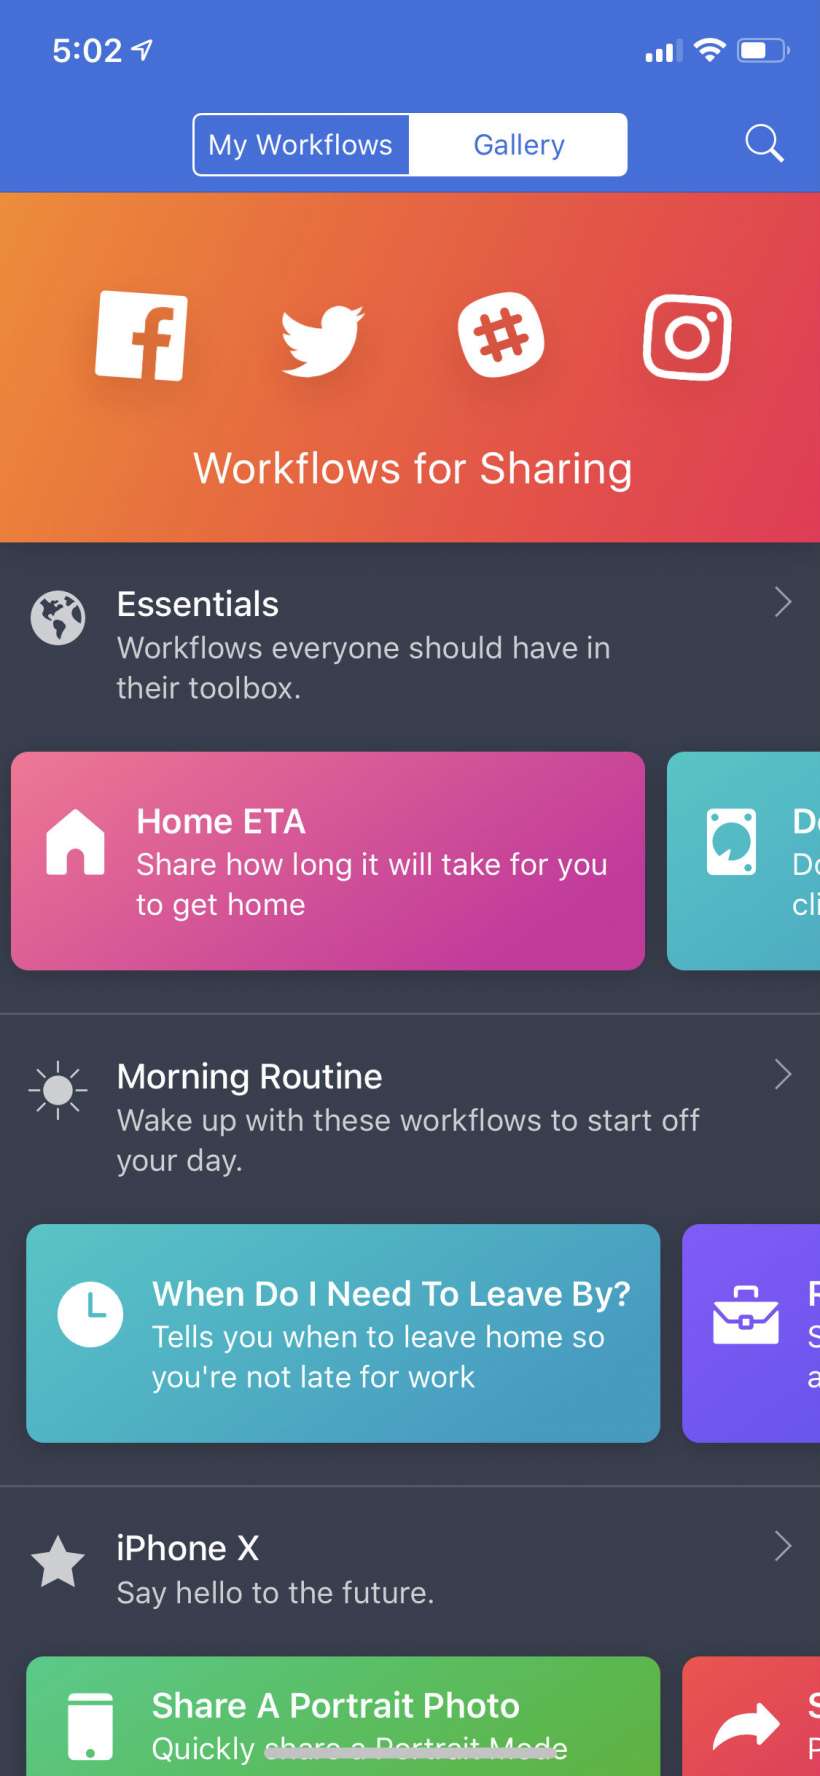
- Now you will see a bunch of workflows under various categories like "Essentials," "Morning Routine," "Stay Healthy" and more. You can tap on a category to see a vertical listing of all the workflows, or just swipe left and right on the workflows beneath each category to scroll through them.
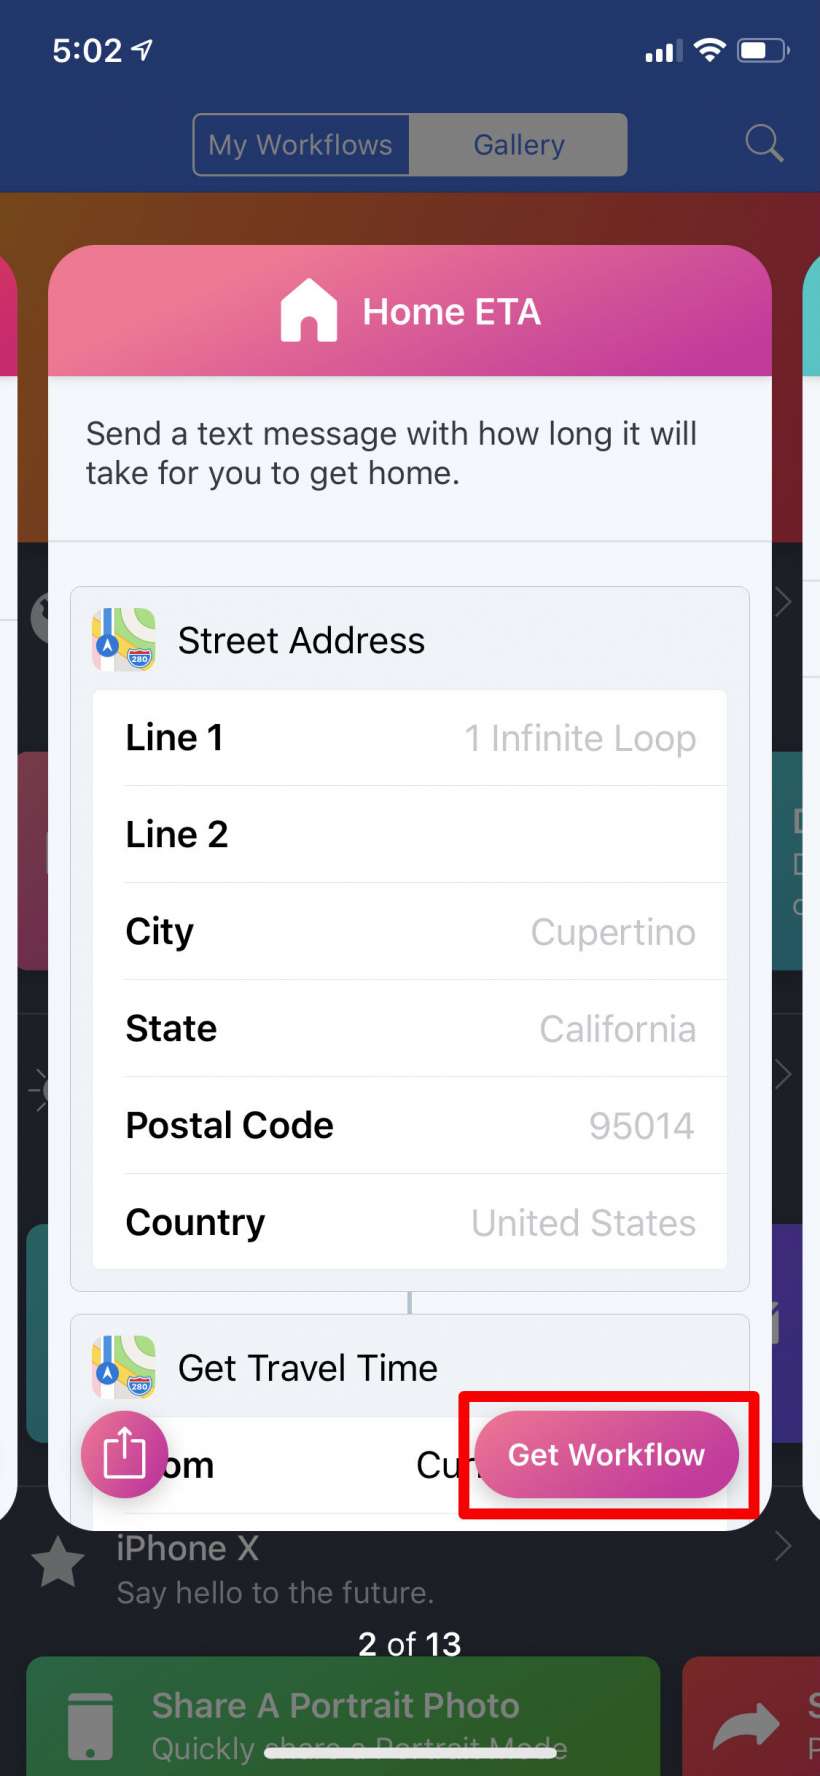
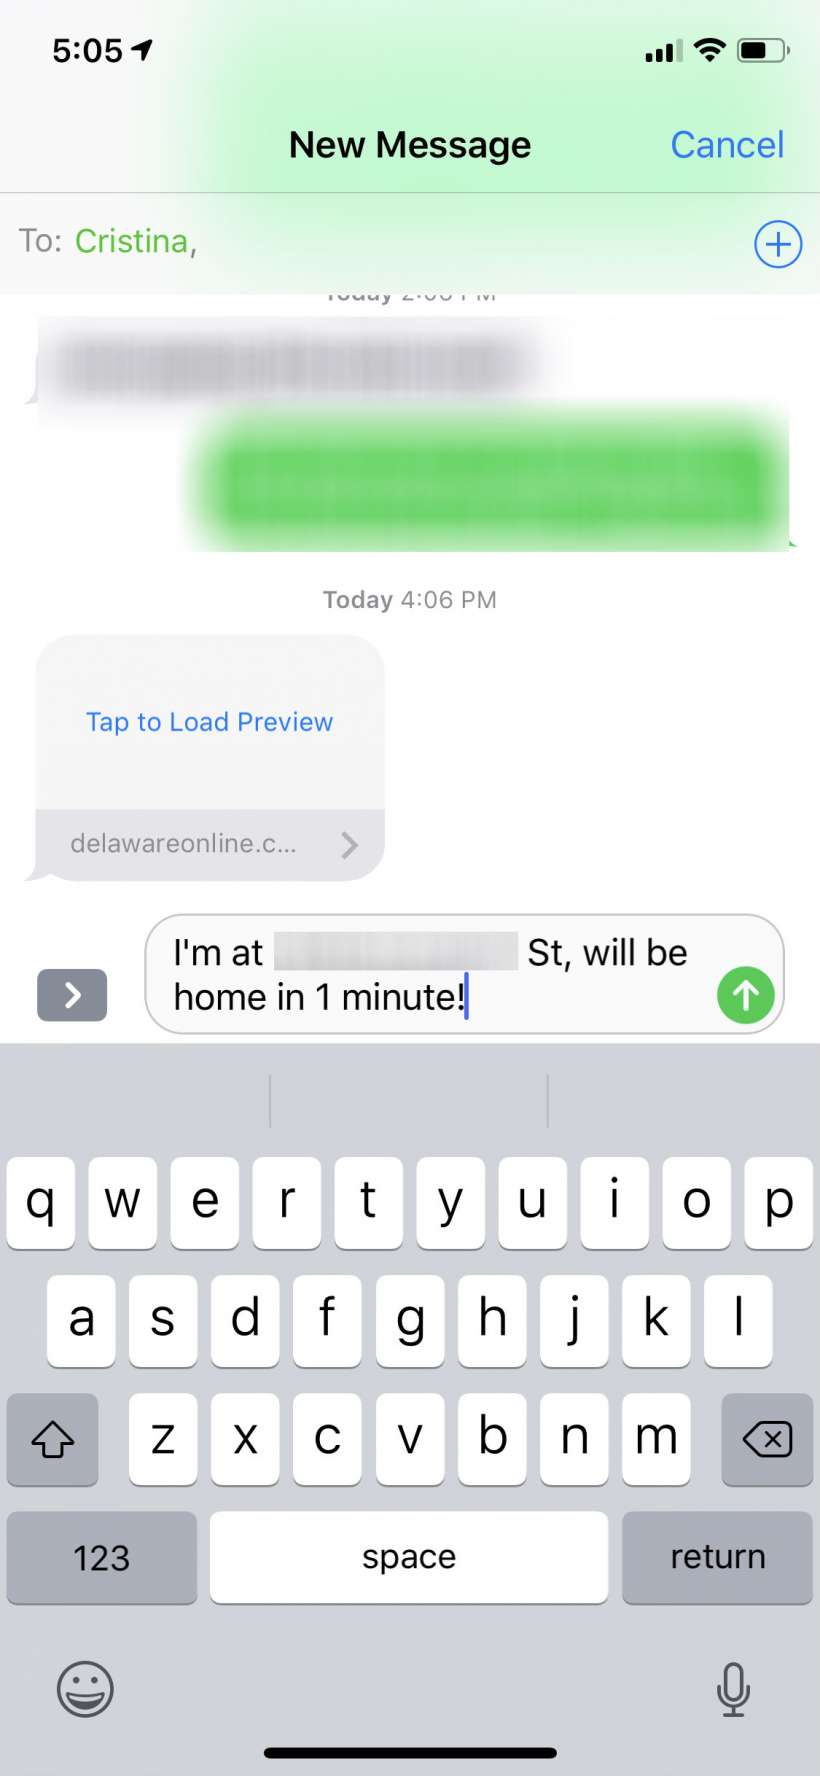
- Find one that you think might be useful for you and tap on it. We will use "Home ETA" in the Essential category for this example. This workflow will find your location, find directions to your home and the time it will take, then send a text message to whoever you want, telling them where you are and how long it will be till you get home - all with a single tap. After tapping on it, tap the Get Workflow button.
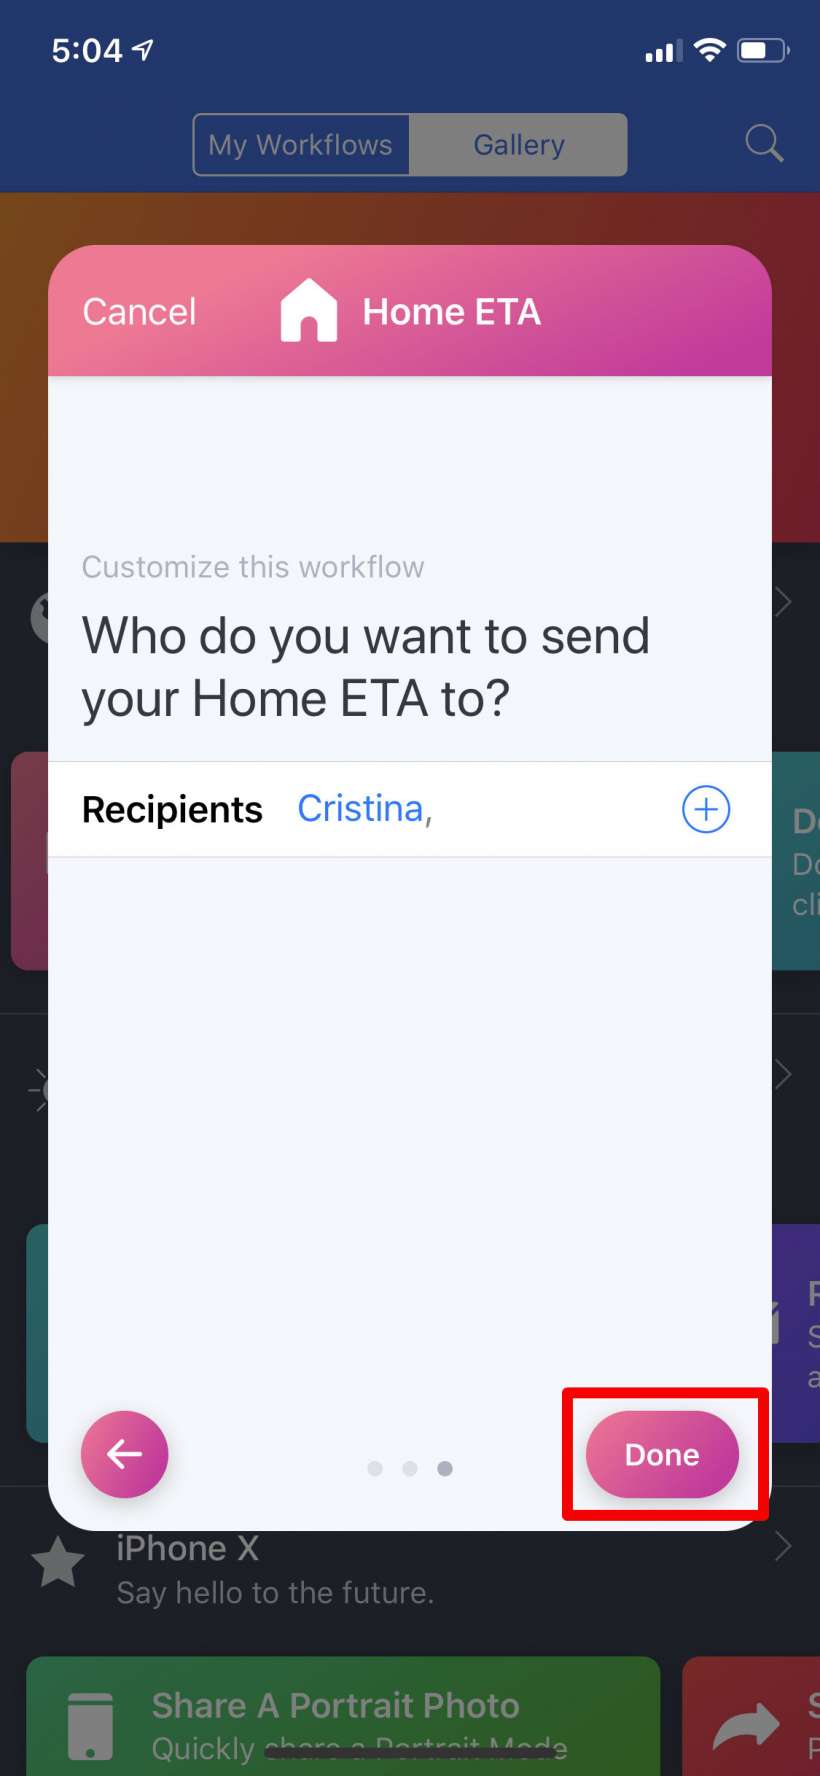
- Now you can customize it by entering your address and the recipient who will receive the text. Don't bother entering the info now as it will be incomplete and you'll be able to fill it out later. For now just tap the next arrow through until it becomes a "Done" button, then tap that.
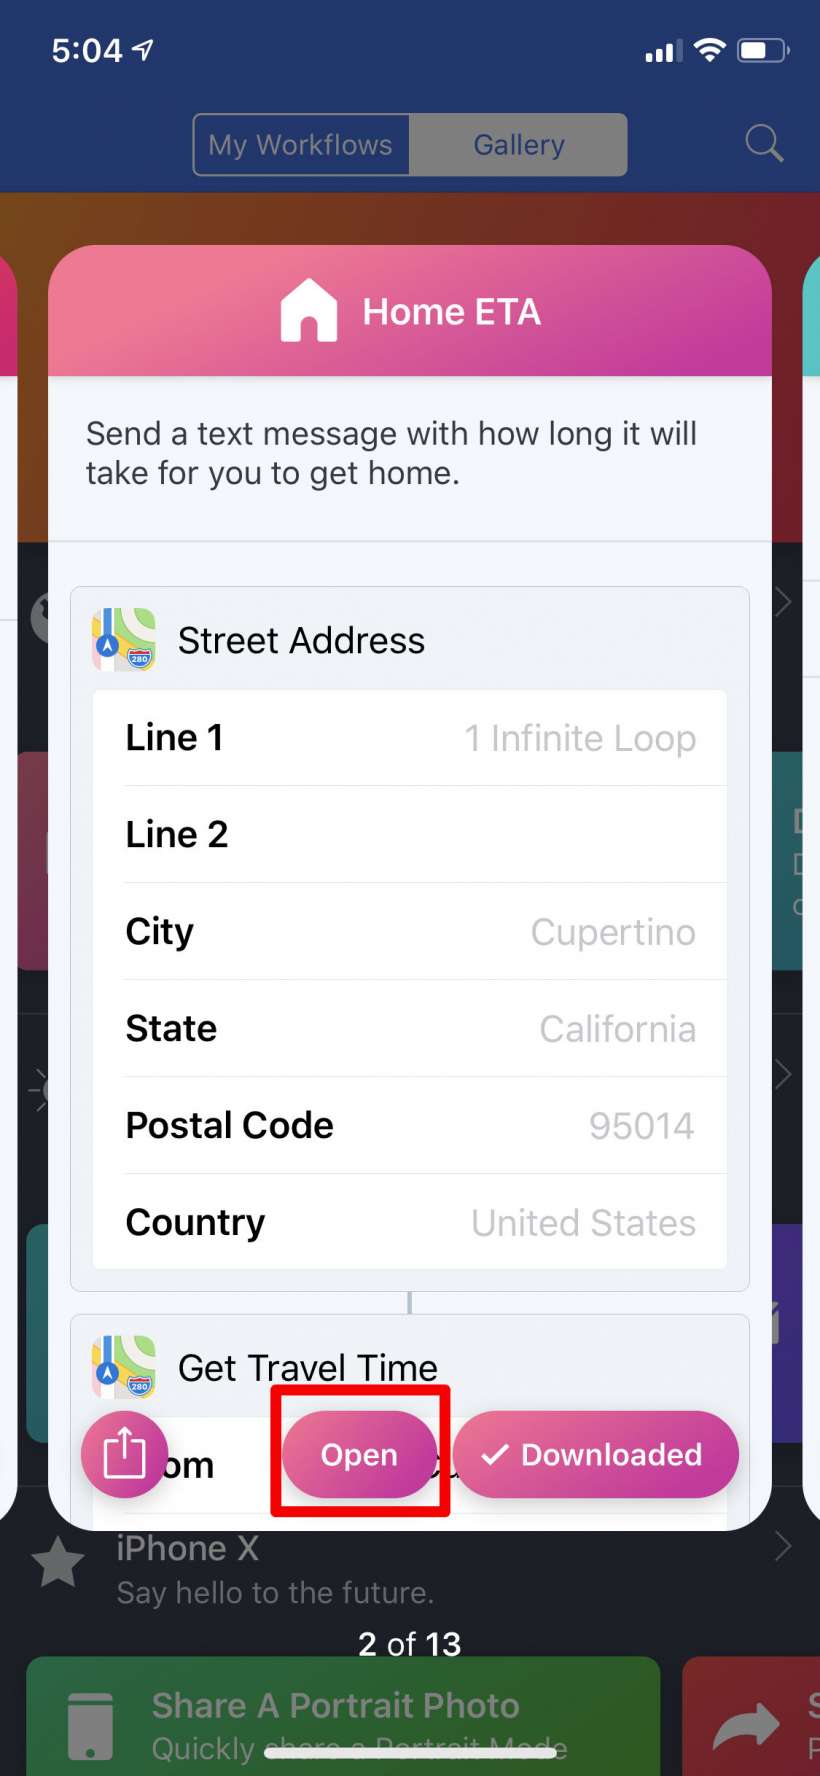
- Now tap "Open" in the bottom center of the workflow panel.
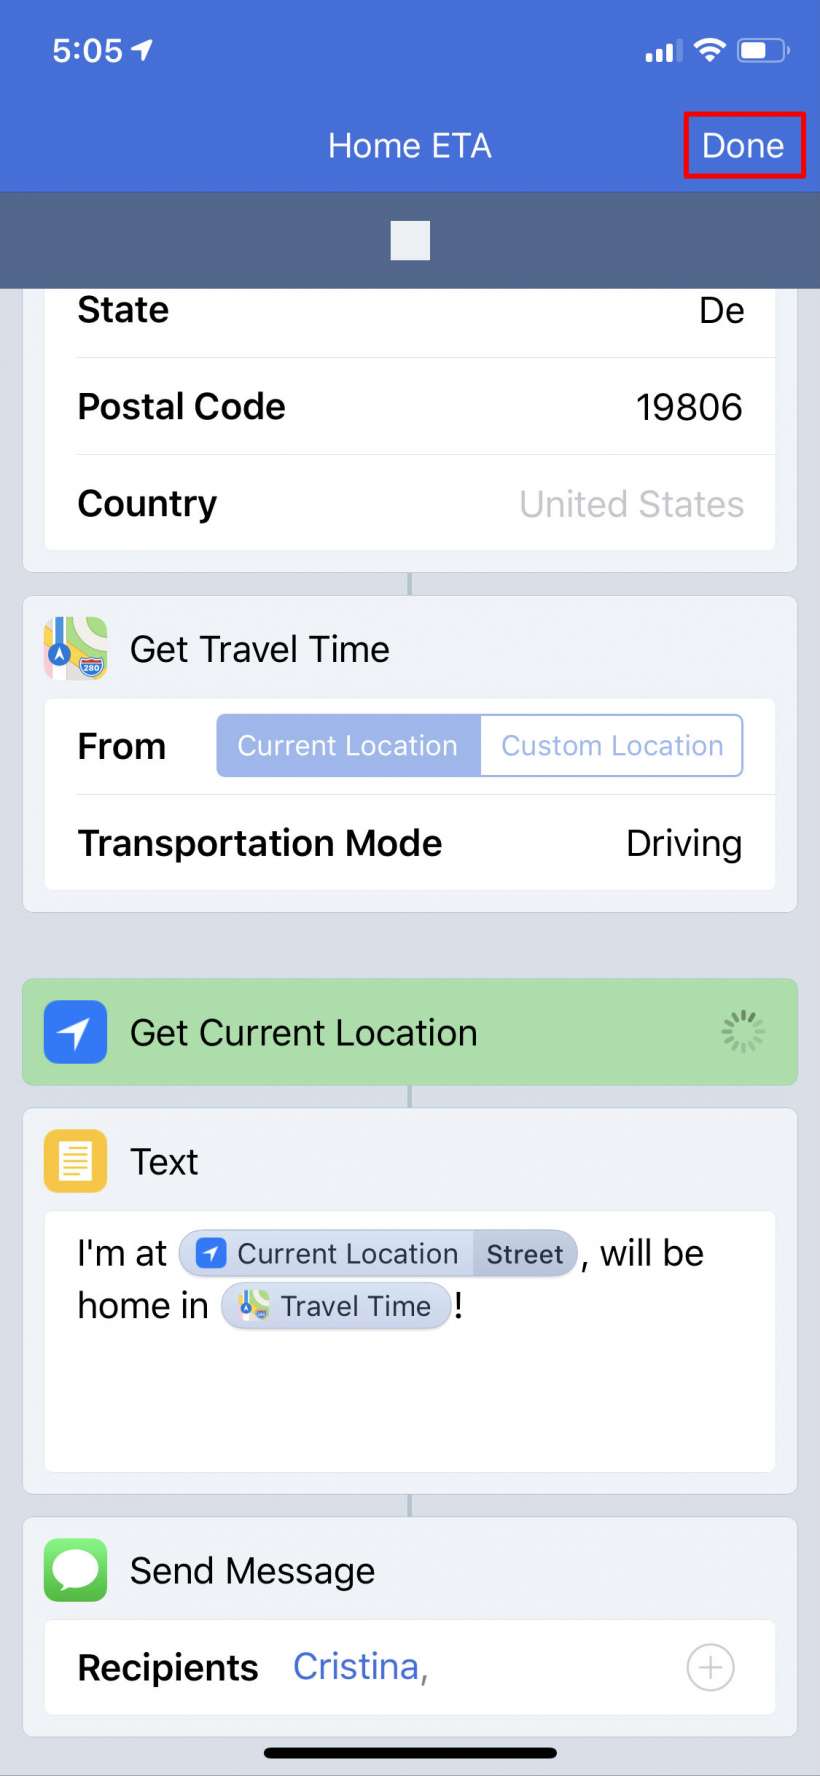
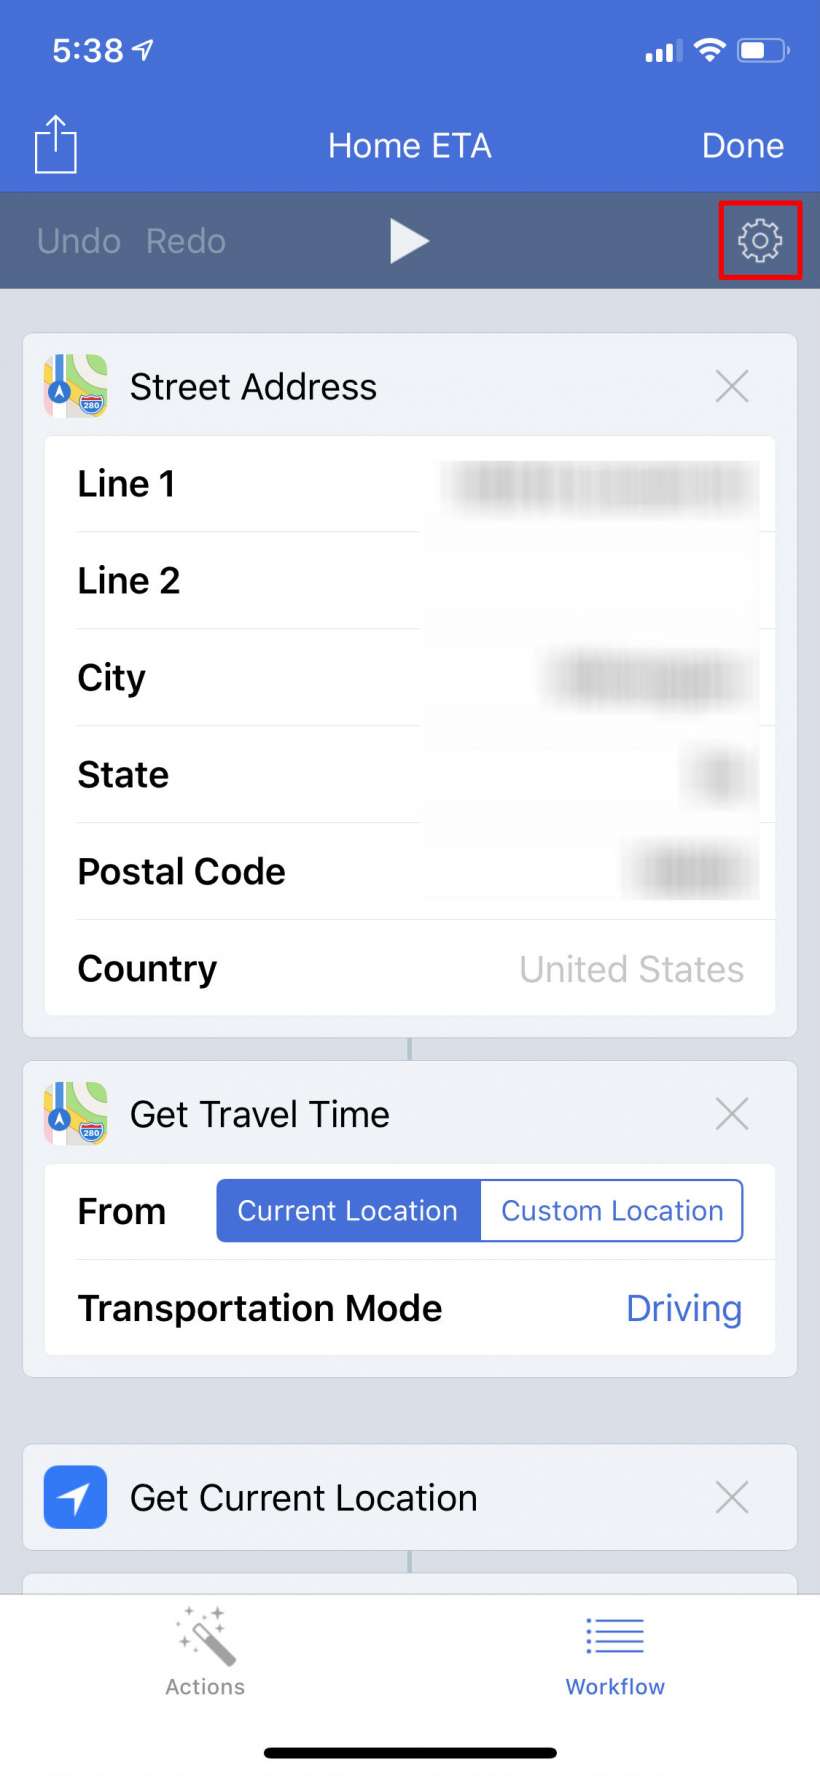
- Now you can customize the workflow. Enter your full address, select your transportation mode, change your text message if you want, and add recipients. Tap "Done" in the top right when you are finished.
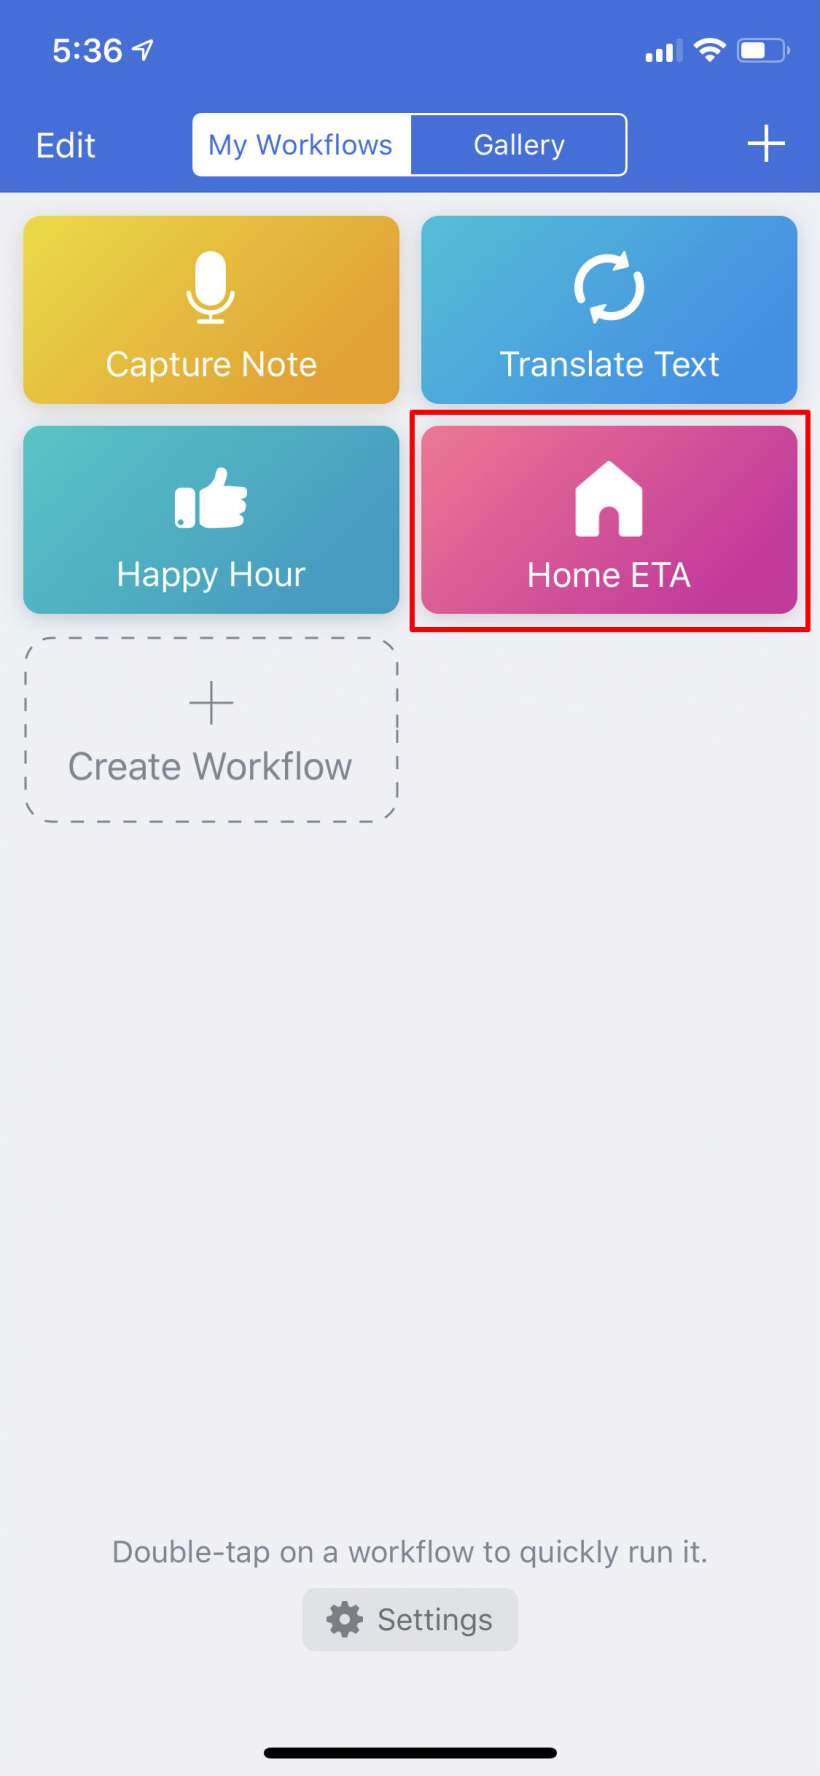
- Now you have the Home ETA workflow in the My Workflows tab. To really make it convenient (which, after all, is the whole purpose of the app), you'll want to add this workflow to your Home Screen. Tap on it and tap tap the gear icon in the top right.
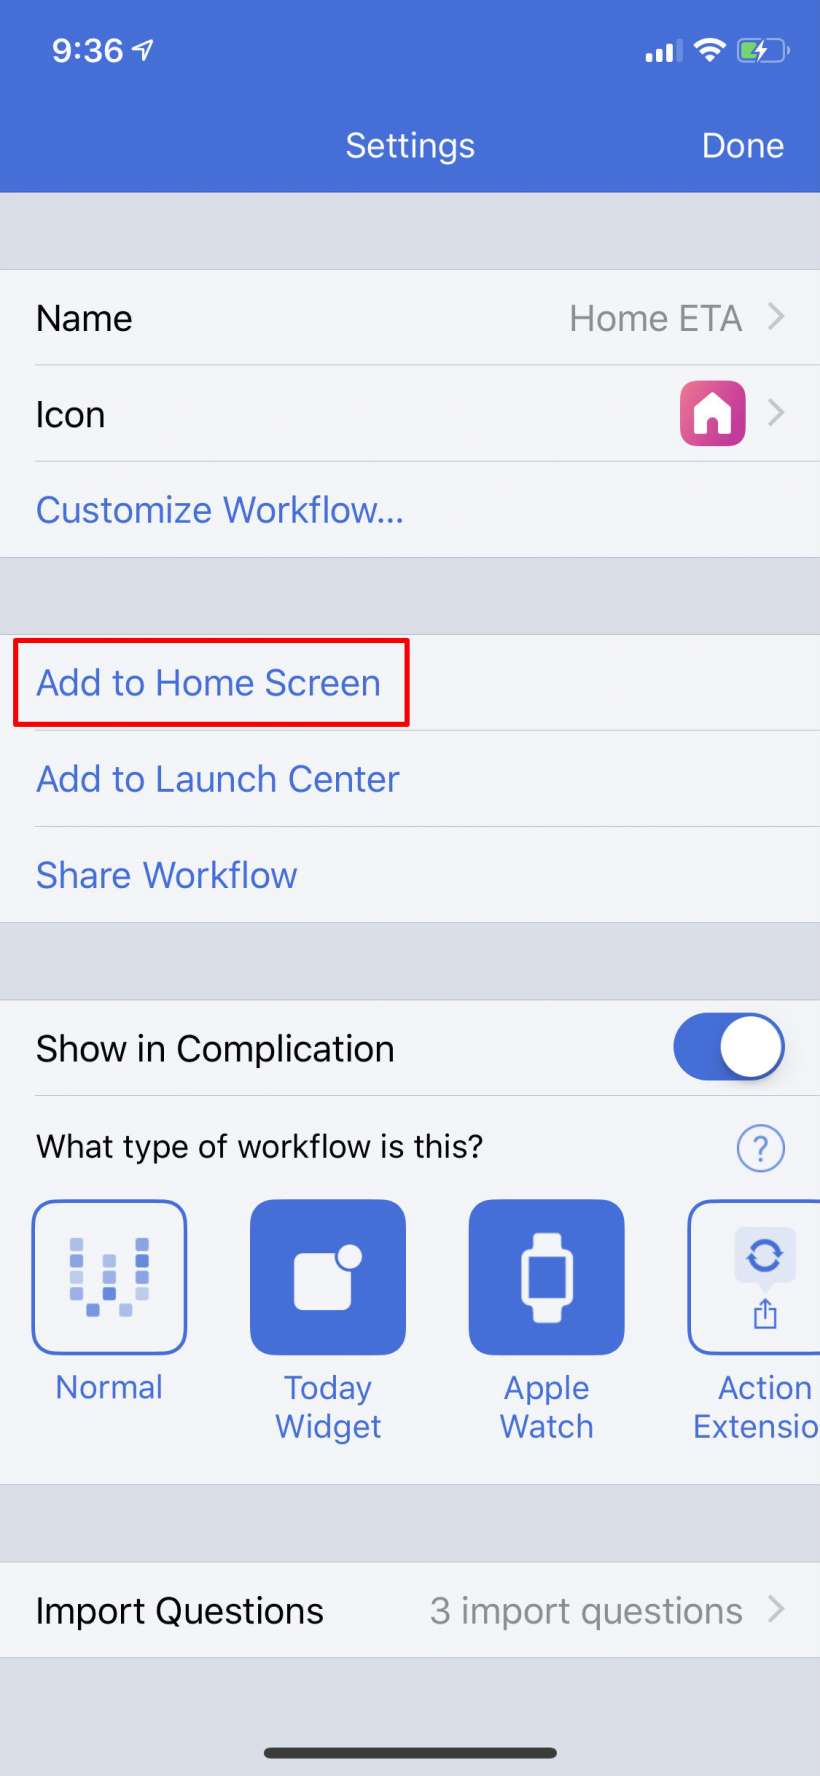
- Now tap "Add to Home Screen." You can also change the name of your workflow and its icon here.
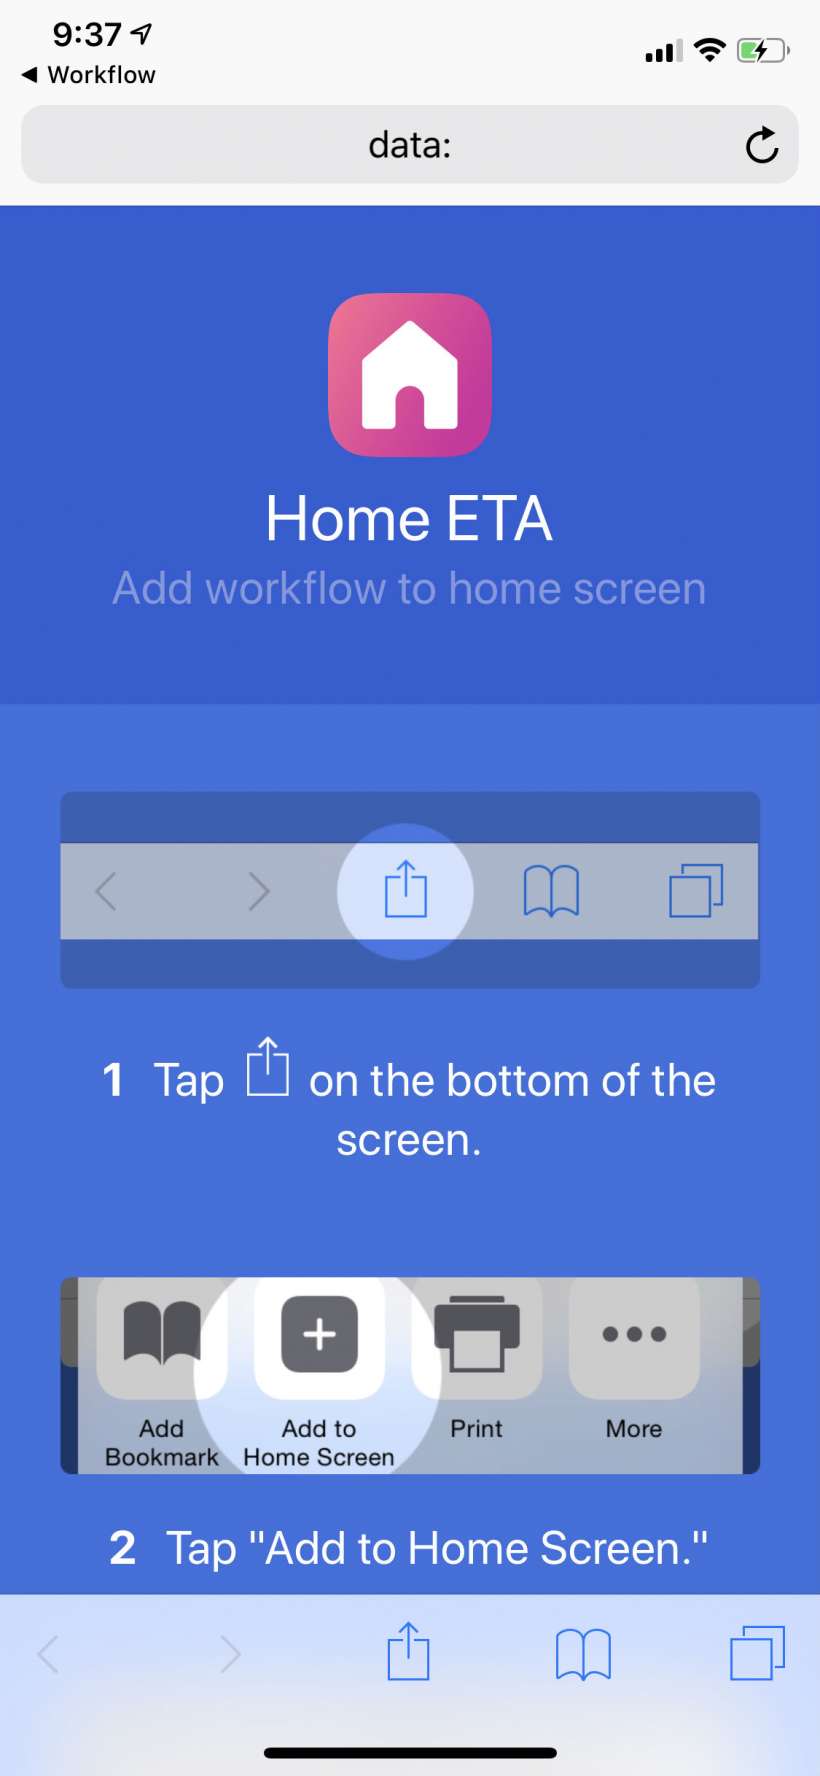
- Ironically, there are a couple steps here to add the icon to your Home Screen. Just follow the on-screen instructions to finish adding it.
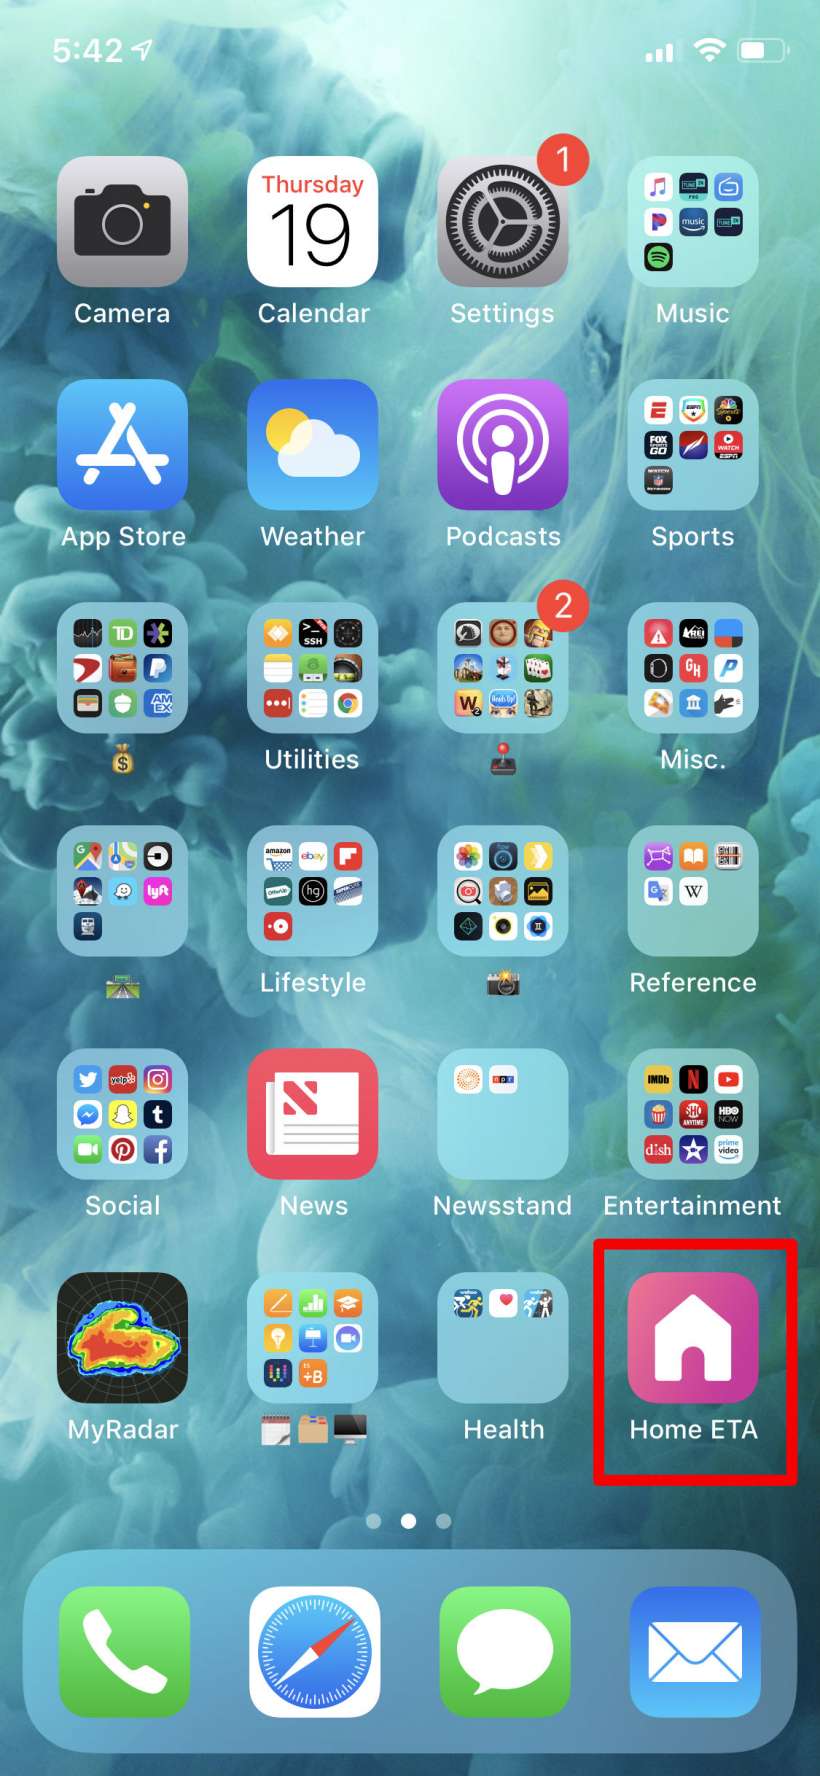
- Now you have an icon on your Home Screen that behaves like any other - you can move it and delete it. Simply tap on it to send your ETA to whomever you chose as a recipient. What normally would have required a bunch of steps now can be accomplished with a single tap! Well, you will have to tap it once more to actually send your message.
Going through these pre-made workflows will probably get you thinking about other ones you could use. If you do have an idea for one, you can create your own.
