Submitted by Jon Reed on
While lens filters for the iPhone's Camera app have been around for several iOS generations now, iOS 11 not only changes the available filters, but changes the user interface as well. Apple touts them in its iOS 11 preview:
"New professional-quality filters take the camera on iPhone to another level. Portrait photos are more expressive. Skin tones more natural. There are even filters for applying classic looks to your portraiture photography."
Additionally they note that newer compression technology will allow you to take photos at the same quality but half the size. Here's how to use the new filters:
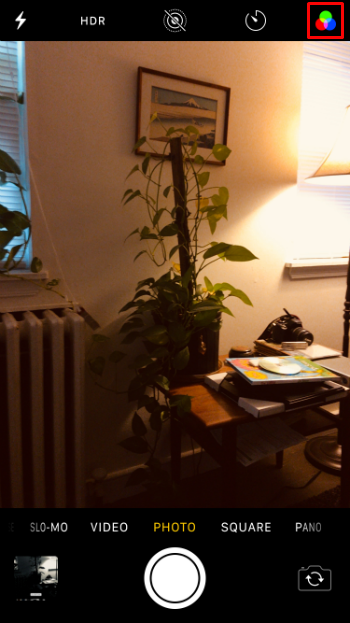
- Open up the Camera app and tap on the filters button in the top right corner (or top left if you are in landscape). Filters are only available in Photo, Square and Portrait modes.
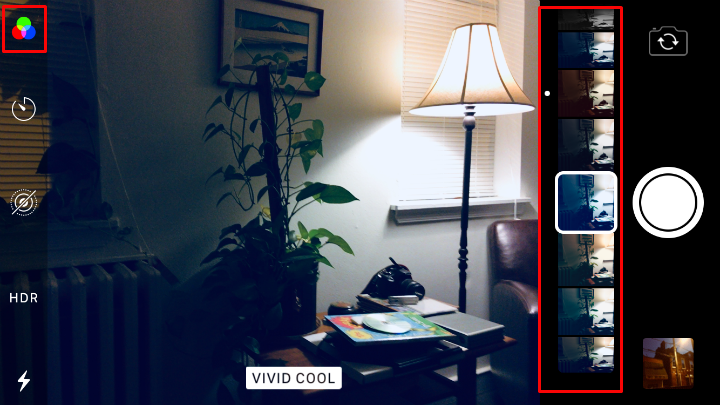
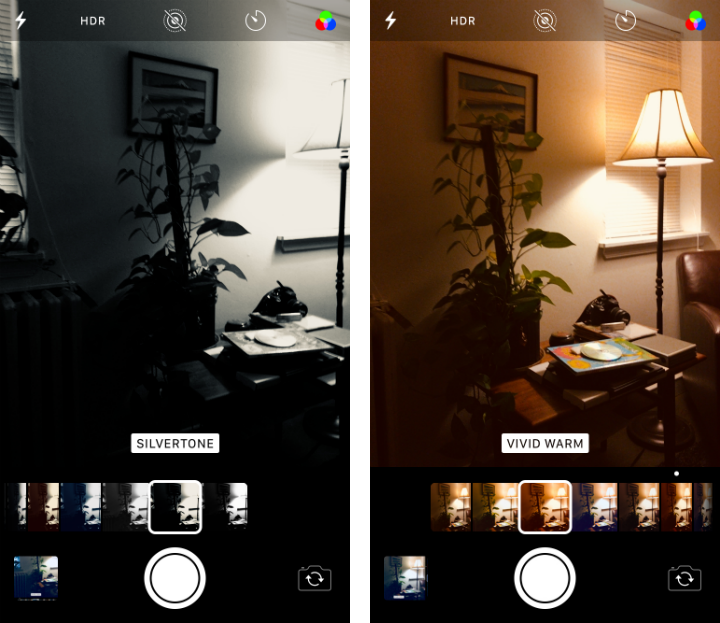
- Now you will see the new interface. Previously you would see a grid of the available filters, choose one, then you would see a preview of what it would look like. Now you get a scrubber beneath (or to the side in landscape orientation) with all the available filters, which makes previewing a much quicker process.
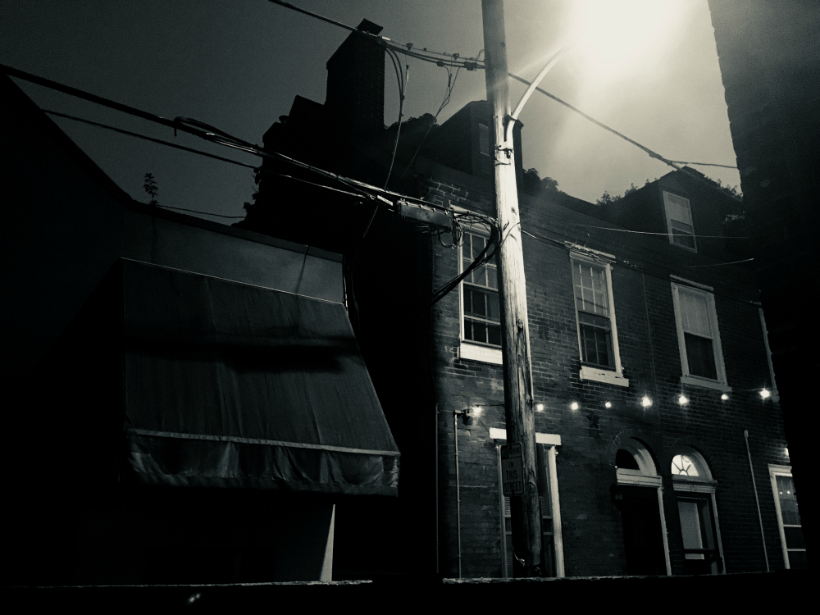
- Scroll through the scrubber and choose between Original, Vivid, Vivid Warm, Vivid Cool, Dramatic, Dramatic Warm, Dramatic Cool, Mono, Silvertone and Noir. Once you have your desired filter, tap the shutter button to take your pic.
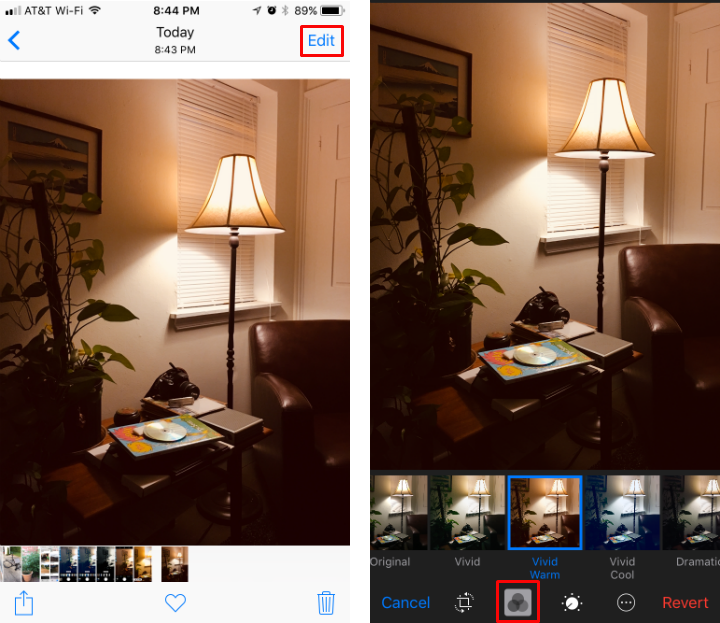
- If later on you decide you don’t like the filter, you can always change it by selecting the picture in your Photos app and tapping edit. Tap the filter button and select a new filter, then tap “Done” when you are finished.
