Submitted by Jon Reed on
Long overdue, tables finally come to the Notes app with iOS 11 along with a host of other new features like the ability to scan documents and lines and grids for handwriting.
To create a table in Notes for iPhone and iPad:
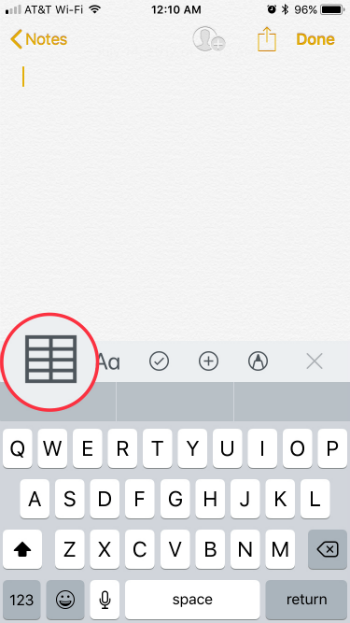
- Open a new note and tap on the table icon.
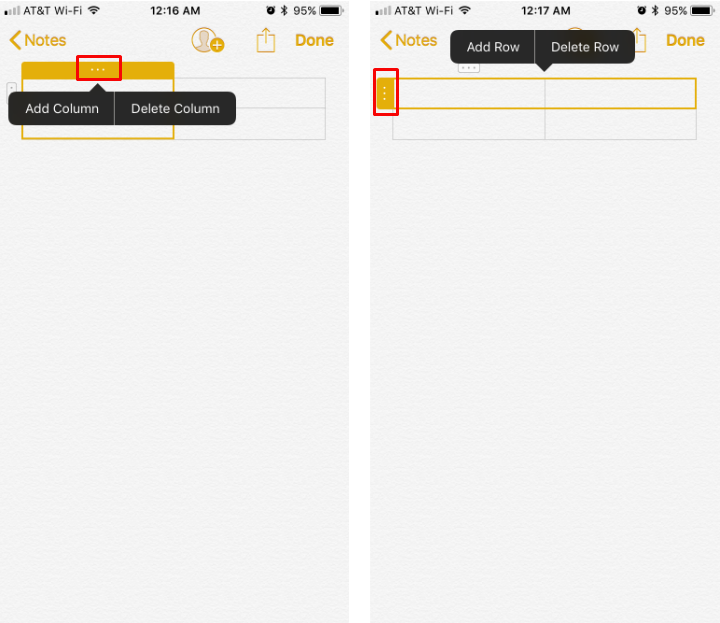
- A 2 x 2 table will appear. Tapping on the 3 dot icons, or handles, at the top and along the side will allow you to add and delete rows and columns.
- Once you have items in the cells, you can tap the handles to format whole rows or columns. Tap on a cell to make the handles appear, then tap on the one for the row or the column. From there you can format the whole row/column as bold, italicized, underlined or strikethrough, and you can cut or copy it.
- You can also use the handles to move rows and columns. Tap on the handle and you will see a gold outline around the row or column. Now tap the handle again and hold. Drag the row/column to where you want it.
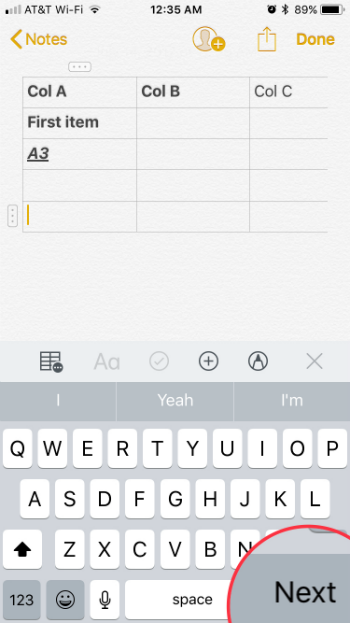
- You can navigate from cell to cell simply by tapping on them, or you can use the "Next" button to jump to the next cell. If you are in the last cell, the Next button will automatically create a new row.


