Submitted by Jon Reed on
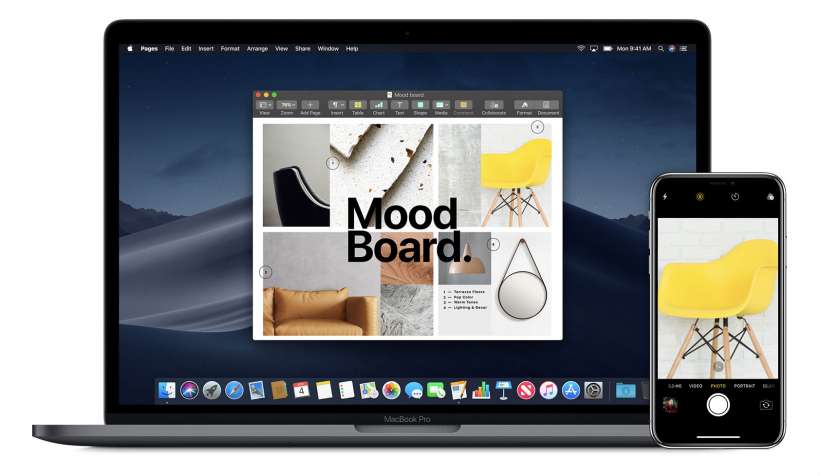
In the recently released macOS Mojave, Apple has added another feature to its Continuity suite called Continuity Camera. The feature lets you take a photo or scan a document with your iPhone's camera and have it instantly available on your Mac. Continuity Camera works with several native apps including Pages, TextEdit, Keynote and Notes, and basically bypasses several steps that you would normally take to get a photo from your iPhone into a document on your Mac. Now instead of taking a photo and uploading it, or grabbing it out of iCloud, you can use Continuity Camera to upload photos directly into the app in use. Here's how to do it with your Mac (with Mojave) and iPhone:
- Make sure both your Mac and iPhone have Wi-Fi and Bluetooth turned on and are both signed in with the same Apple ID. Your Mac needs to be using macOS Mojave or later and your iPhone or iPad should have iOS 12 or later. The following apps support Continuity Camera:
- Finder
- Keynote 8.2
- Messages
- Notes
- Numbers 5.2
- Pages 7.2
- TextEdit
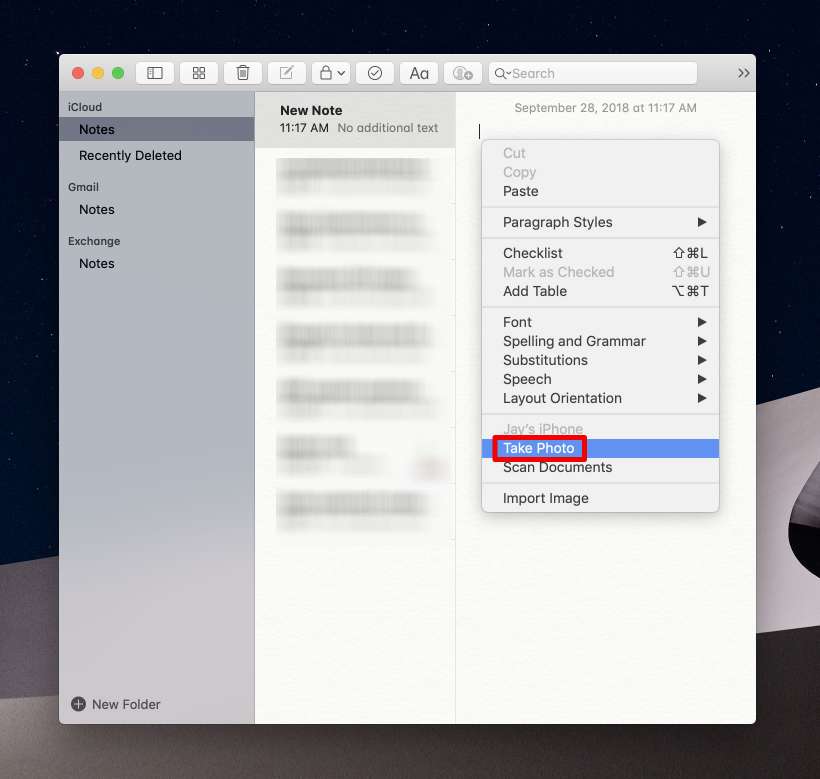
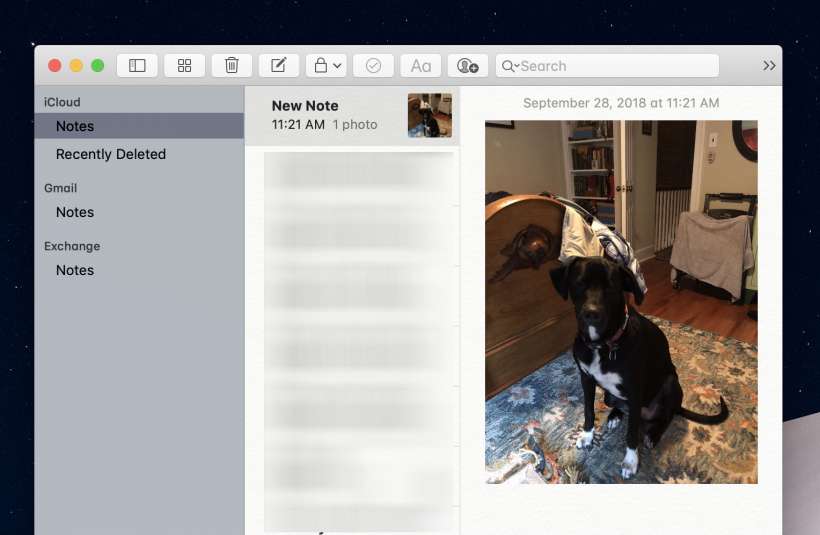
- Open one of the supported apps on your Mac that you want to use a photo with. In this example we'll use Notes, but the procedure will be the same regardless of the app. Create a new Note and right click on it to bring up a menu of options. Select "Take Photo."
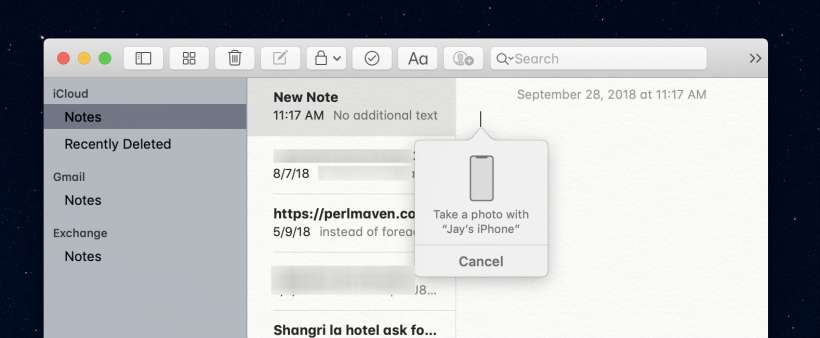
- Now you will see a message telling you to take a photo with your iPhone.
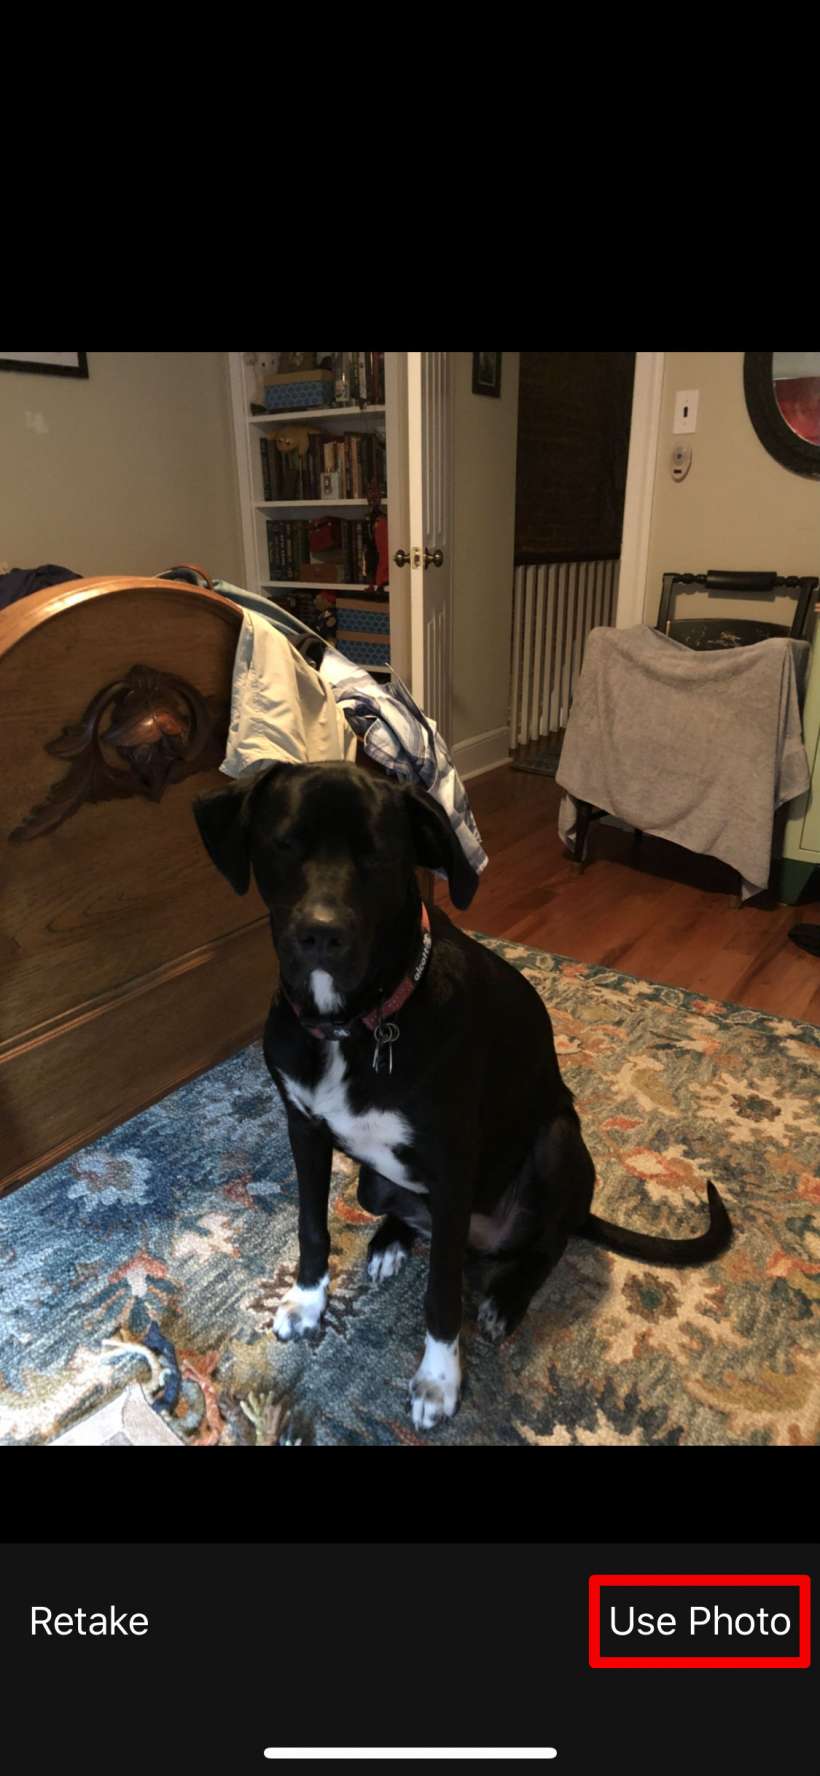
- Pick up your iPhone and you will see that the camera is on and ready to go. Take a picture and tap "Use Photo" when you have the shot you want.
- Voilà! Your photo instantly appears in your document.
You can do the same thing for scanning documents, just choose Scan Document instead of Take Photo in step 2.
