Submitted by Jon Reed on
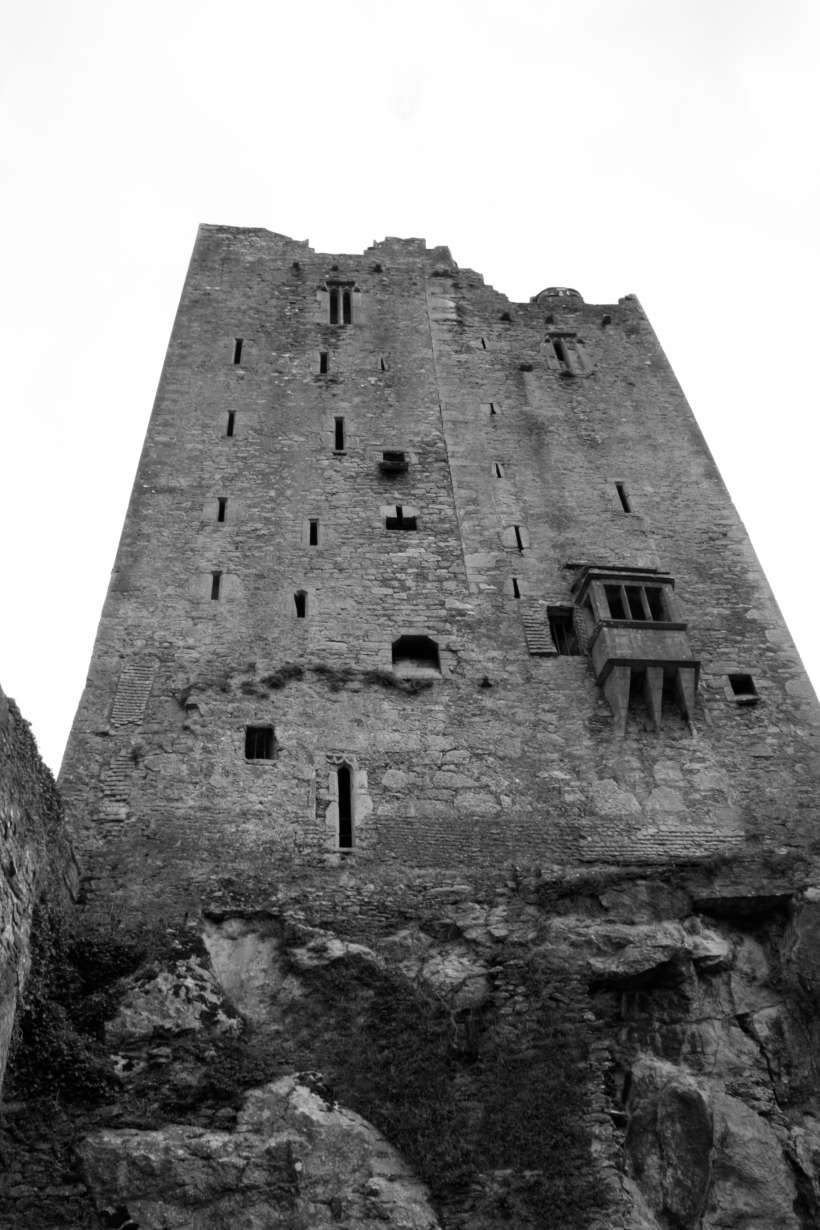
There are a number of artistic reasons to shoot in black and white - it is still seen by some as photography in its purest form as it eliminates the distraction of color, letting the photographer focus on contrast, form, texture and composition. It can also create a mood and give a sense of timelessness to some photos. Whatever your reason, it is easy to take black and white photos with iPhone. You can put a lens filter on before taking the shot so you can see what it will look like, or you can apply it after. Here's how to do it on iPhone:
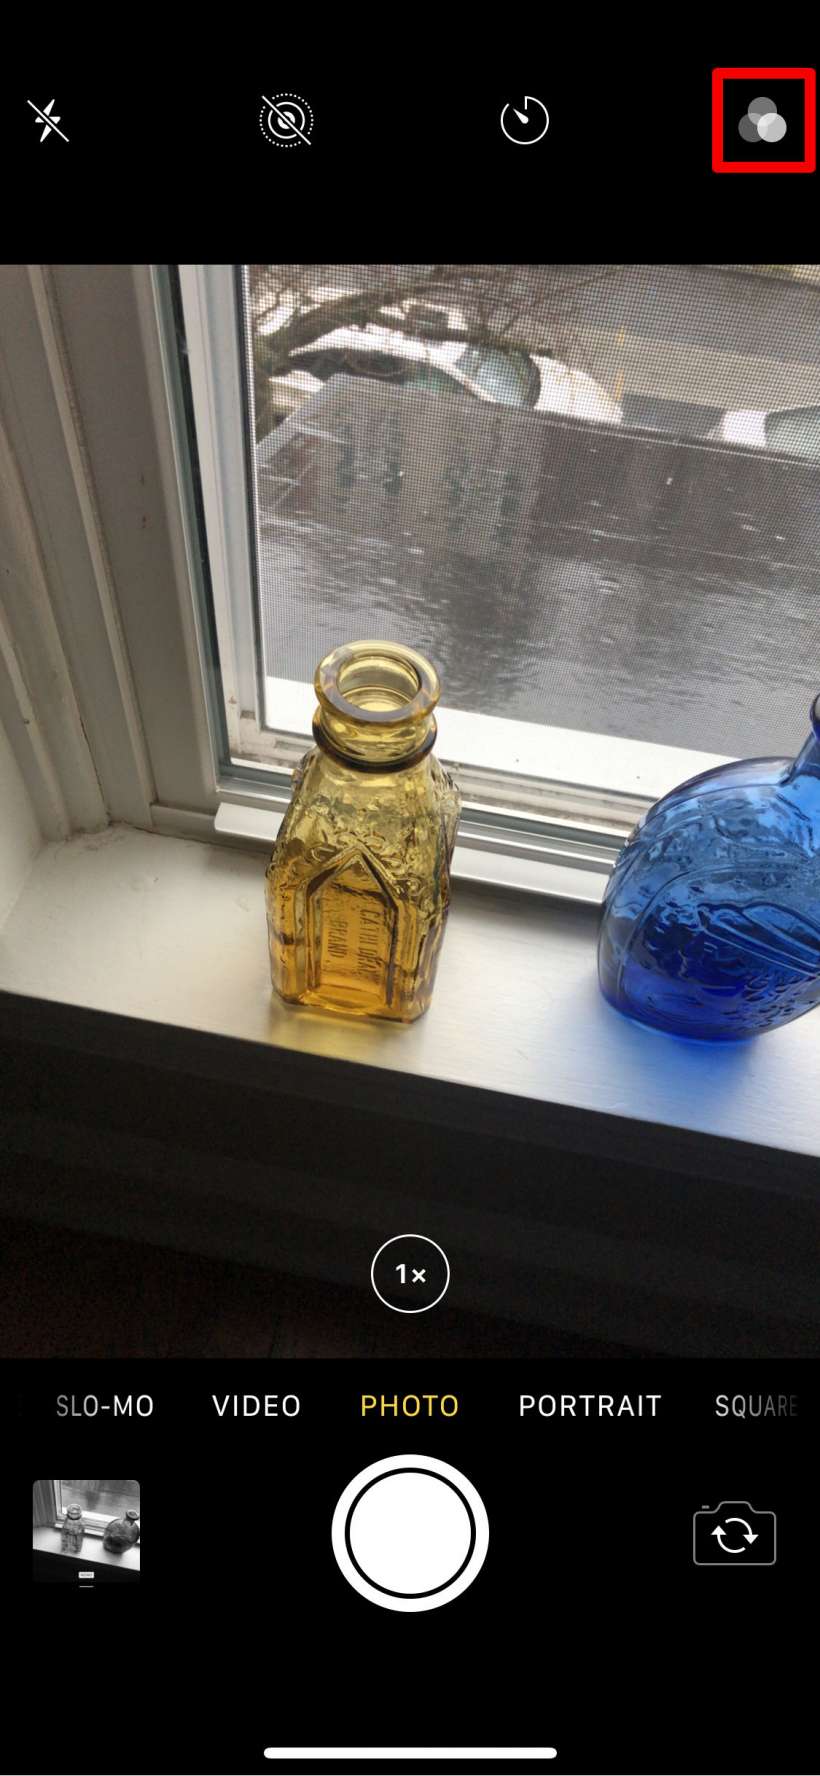
- To add a black and white filter before taking a photo, open your Camera app, choose Photo, and then tap on the filters icon in the top right.
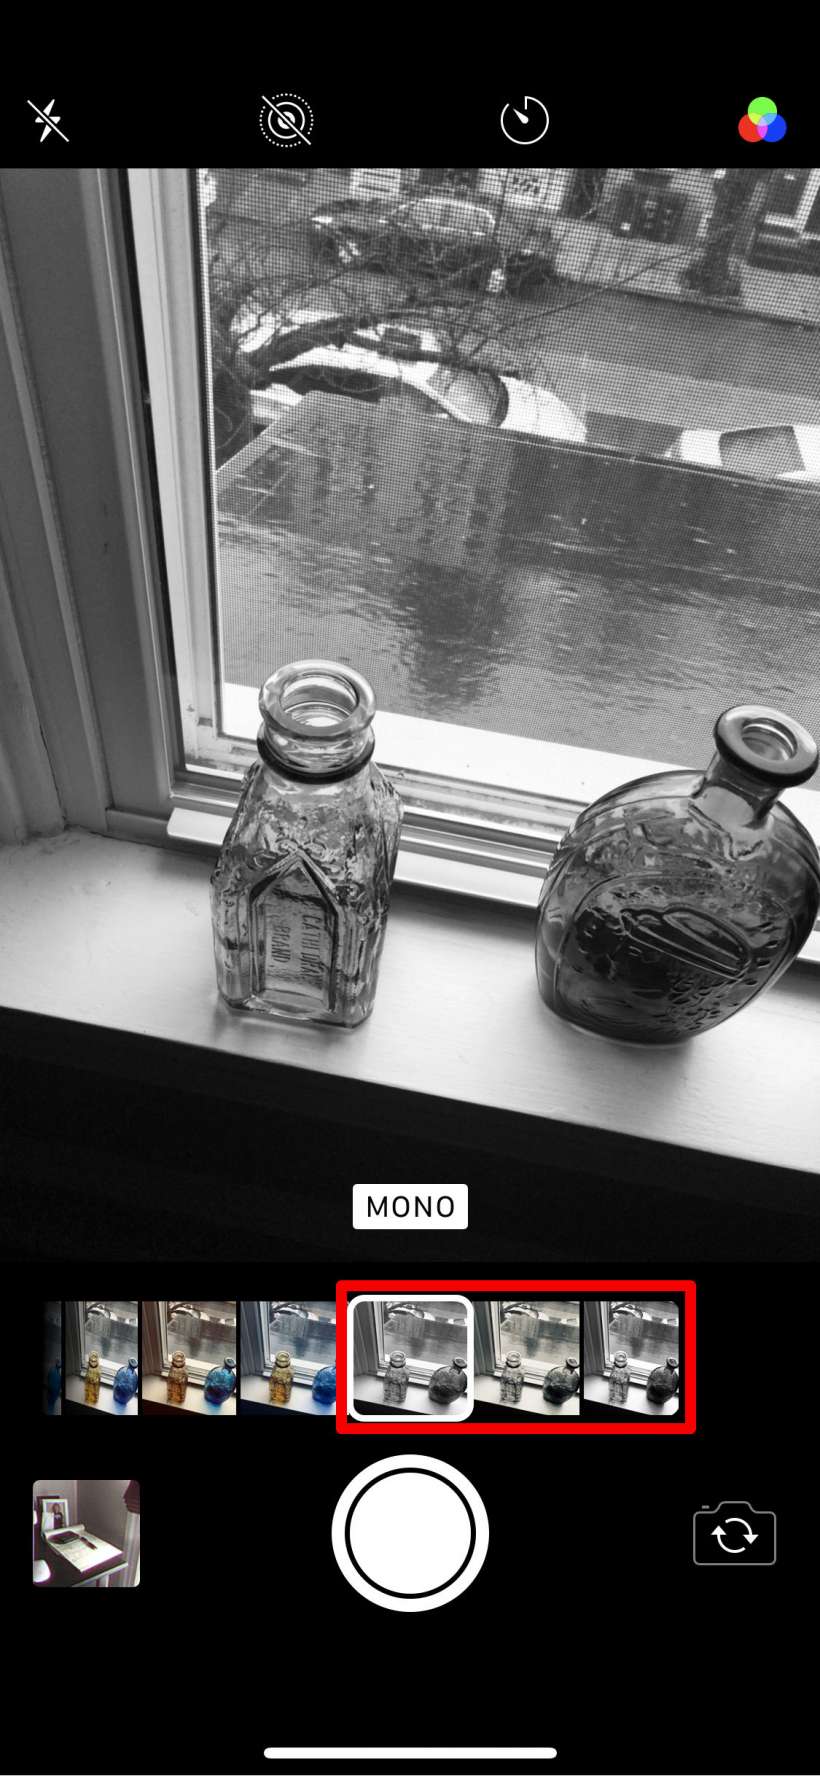
- Now scroll all the way to the right on the filter selection and choose one of the three black and white filters - Mono, Silvertone or Noir. Once you've made your choice simply take a photo as you normally would.
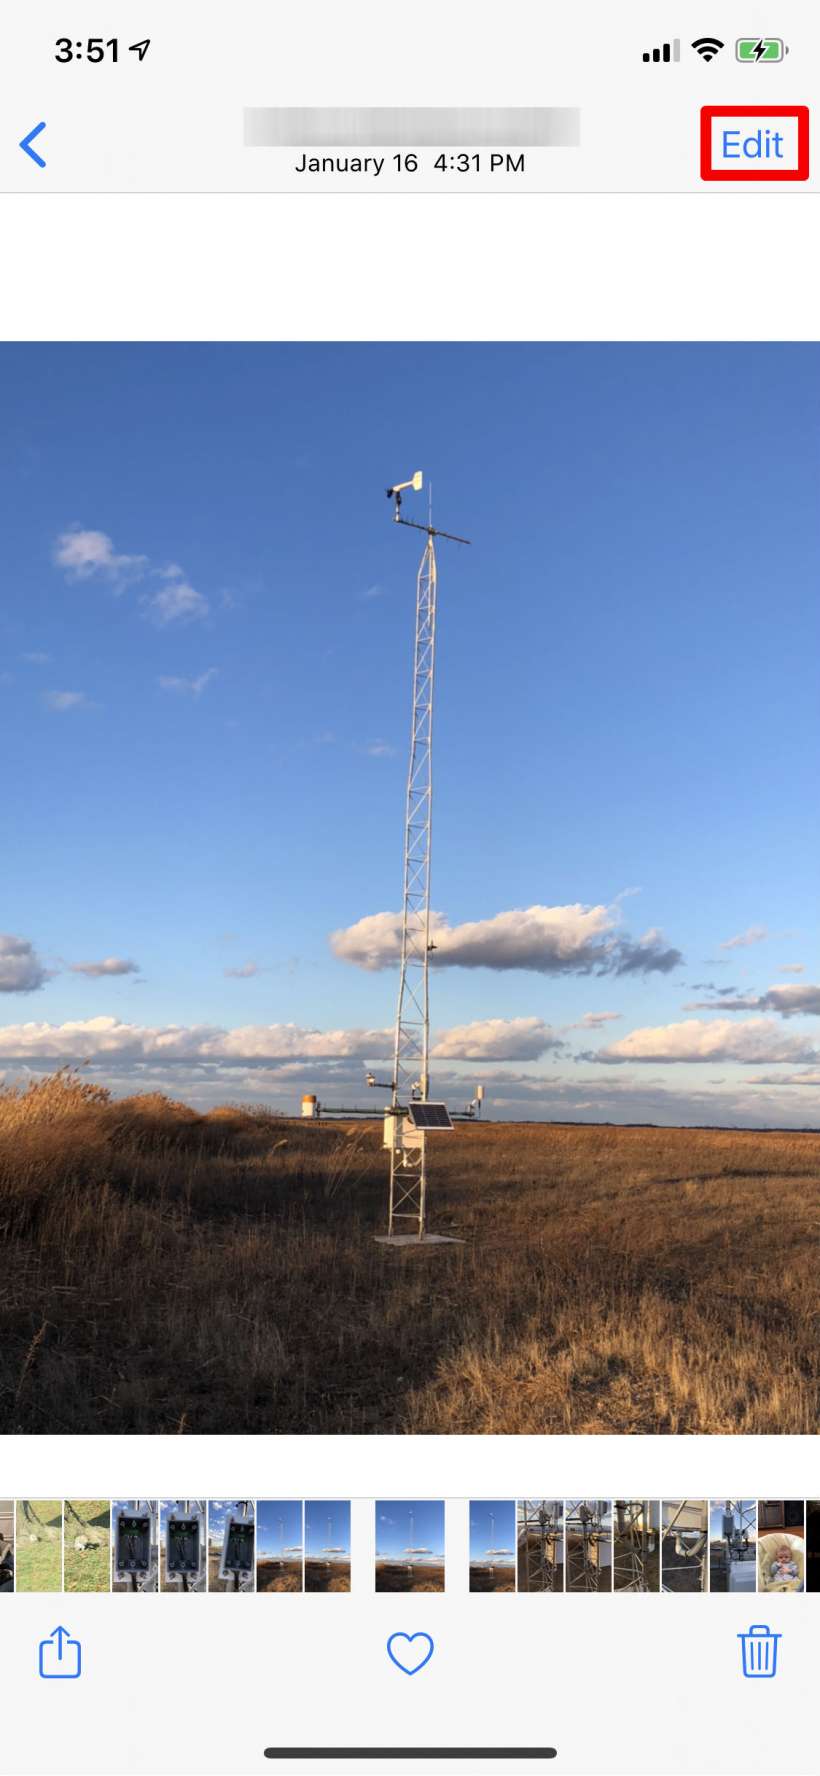
- To apply a black and white filter to a photo you have already taken, find the photo in your Photos app, tap on it, then tap on Edit in the top right.
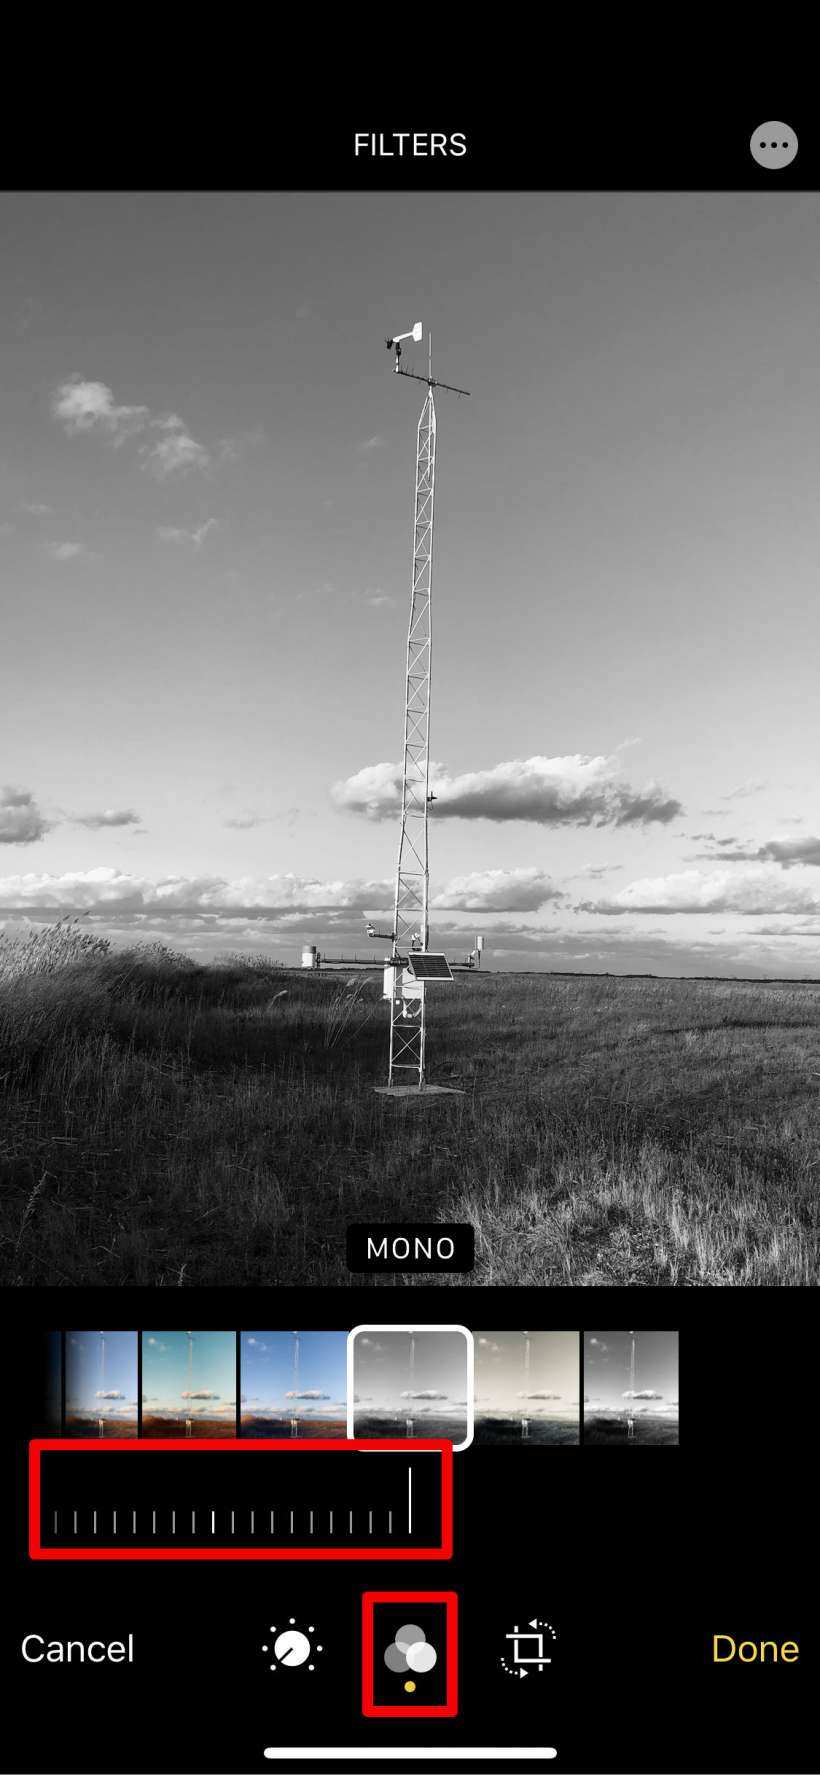
- Tap on the filters icon at the bottom and choose one of the three black and white filters (all the way at the right of the filter options). You can fine tune the intensity of the filter (from 0 to 100) with the metered bar just beneath the filters.
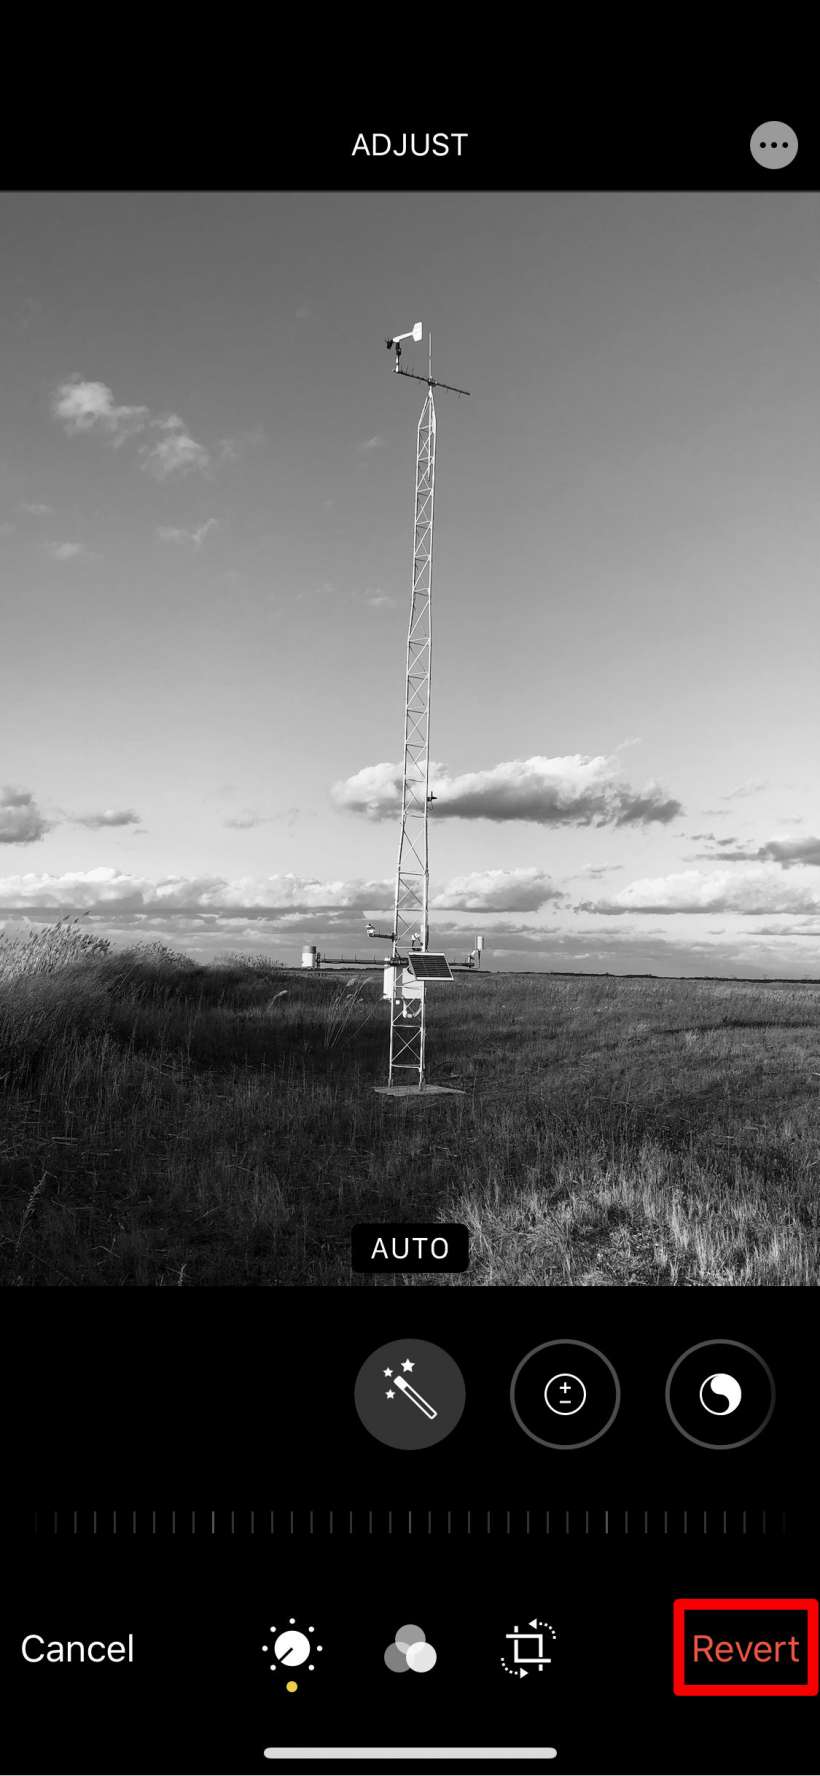
- You can return any of your black and white images to normal color simply by opening it in the Photos app, selecting Edit and then tapping Revert in the bottom right.
