Submitted by Jon Reed on
If you owned an an early generation iPhone (or any camera phone or digital camera) before it was equipped with GPS, chances are you have photos in your camera roll that have no location information. iPhones now geotag your photos automatically (unless you have turned the feature off), which helps with categorizing them and allows them to import into your "Places" album. You can, however, add locations to your "dumb" photos using Apple's Photos app on a Mac. Here's how to do it:
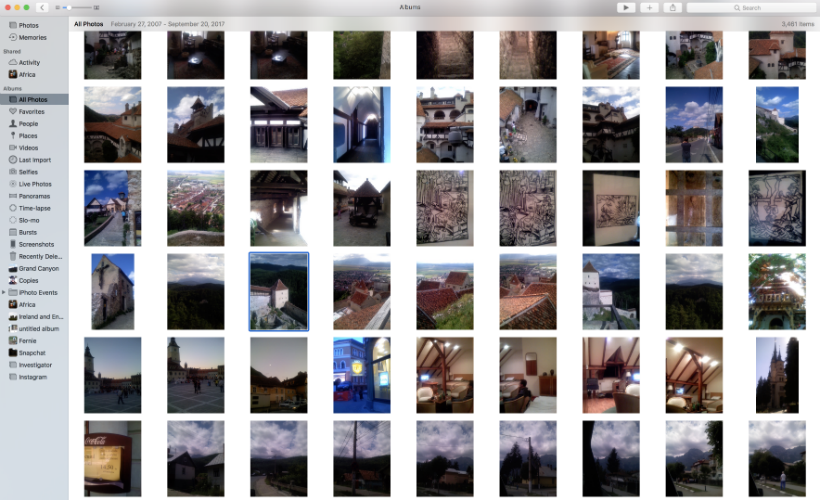
- Open Photos on your Mac and select a photo you want to geotag. If you have iCloud Photo Library turned on you will have access to all the photos that you have on your iPhone.
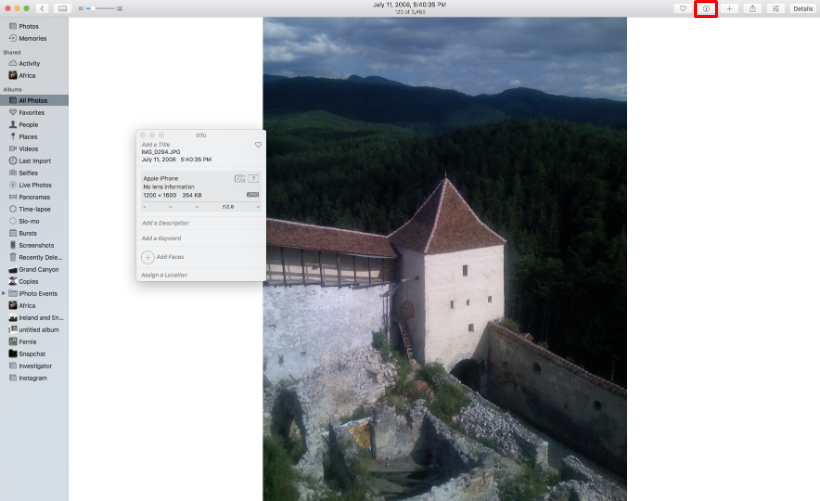
- Double click a photo to open it, then click the "i" button in the top right to open the info panel.
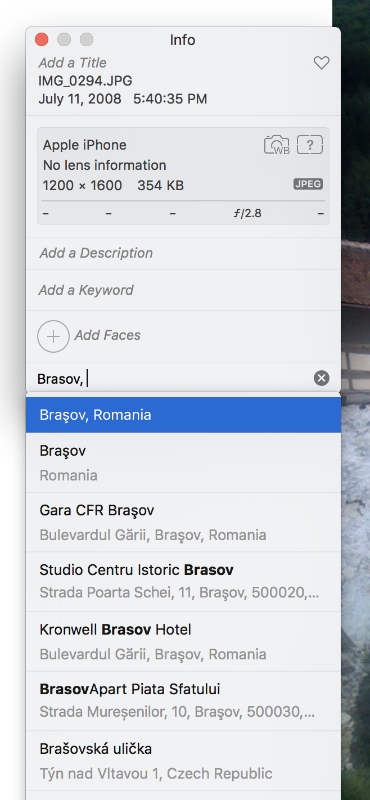
- Click on "Assign a location" and then type in the city you were in. It will pop up in a list of suggestions and you can click on it to assign it. For more precision you can type full addresses or coordinates.
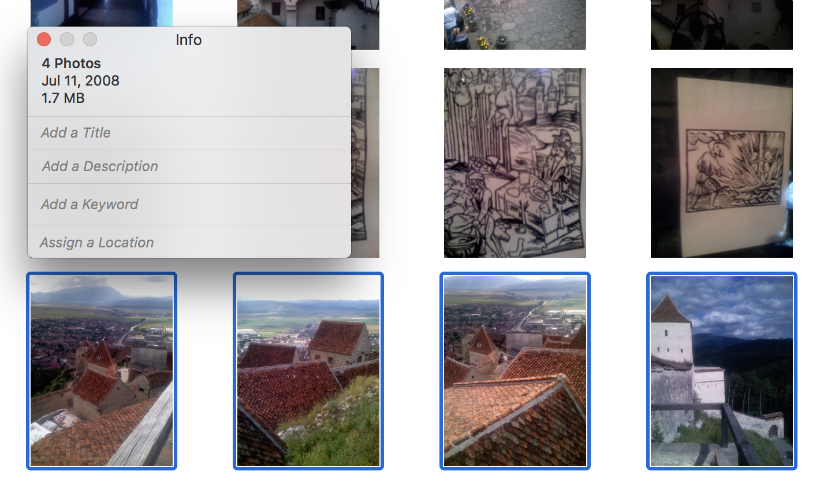
- If you have many photos to assign locations to, you can quickly do this by selecting a group of photos (either by dragging a box around them or clicking on individual photos while holding down the Command key) and then pressing Command + "i" to bring up the Info panel. Now you can enter a location to assign to the group.
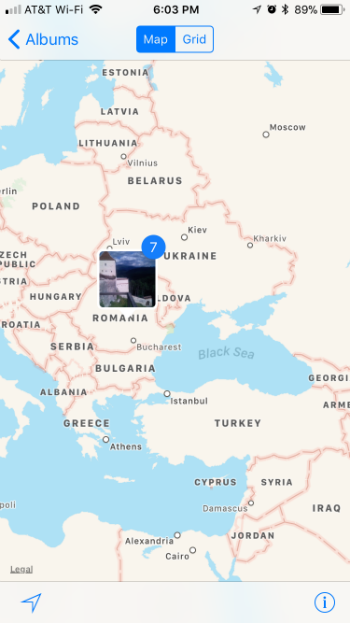
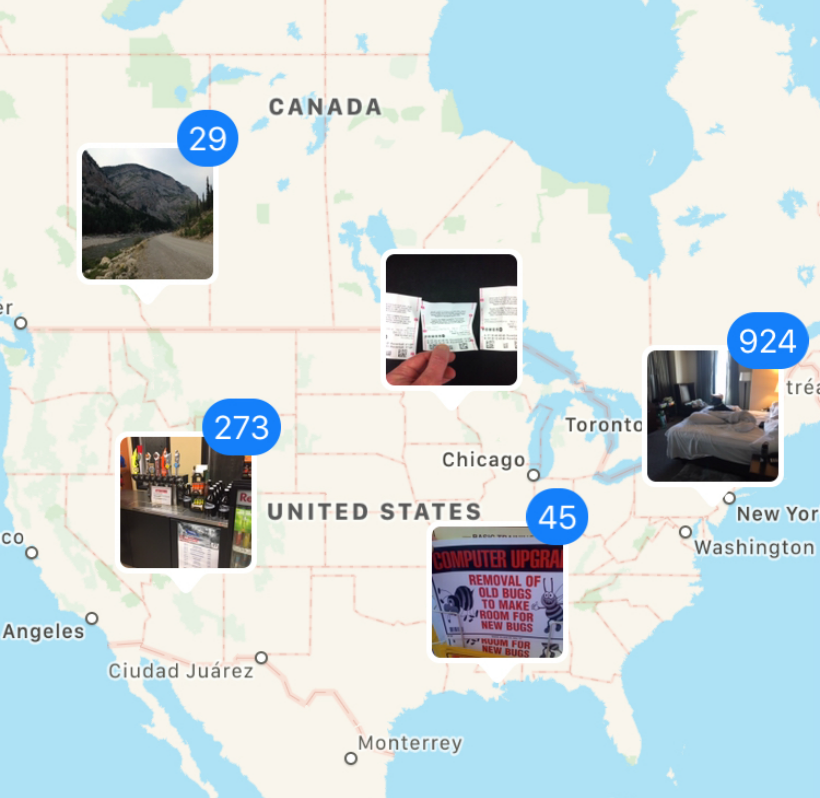
- When you are finished, open up the Places album on your iPhone. You will see the photos you just assigned placed appropriately on the map.
