Submitted by Jon Reed on
iPhone's Magnifier, which debuted in iOS 10 to little fanfare, is a really useful Accessibility feature that few people seem to know about. It does what you'd expect - it uses the camera to magnify details that are difficult to see with the naked eye, making it perfect for reading small text or picking out other minuscule details. The original version worked by taking a snapshot of the subject which you could then zoom in on (to a much greater degree than if you just took a normal photo) and change the color of in case it would help with clarity. It has received a major overhaul in iOS 14, however, and has several additional features and improvements.
The new version of Magnifier has an updated interface that is customizable, some additional color filters, and a new multi-shot feature that lets you take multiple photos to magnify rather than taking one and looking at it before moving on to the next. This makes looking at something like a menu, where you may go back and forth between pages, much more convenient. Here's how to use the updated Magnifier app on iPhone:
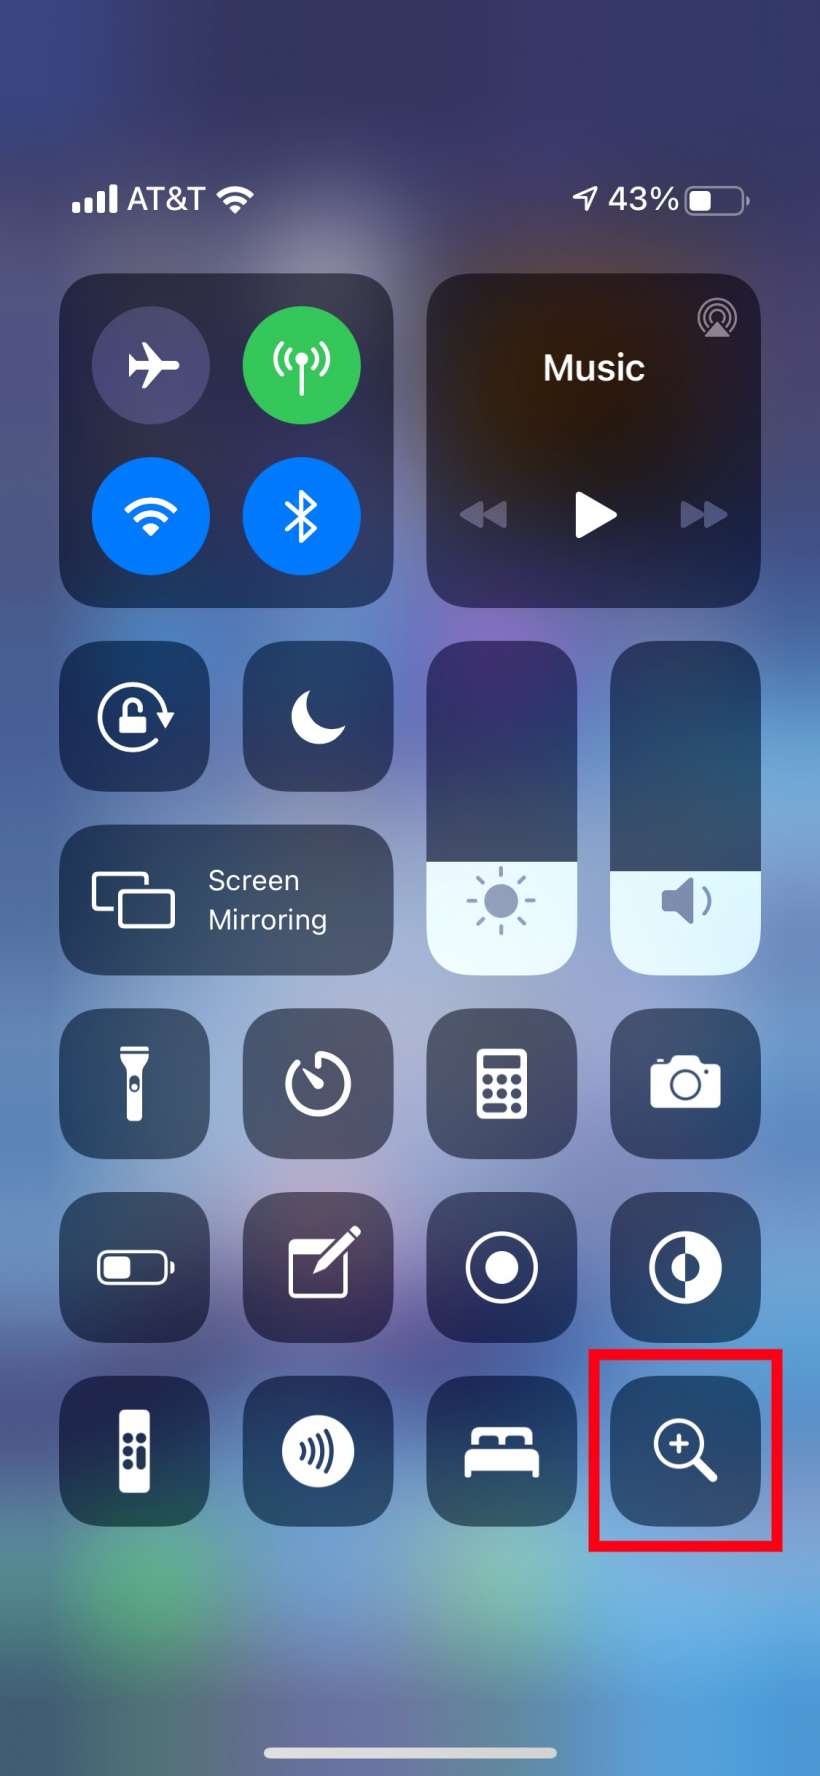
- You can access your Magnifier in your Control Center if you have included it there. If not, you can quickly add it.
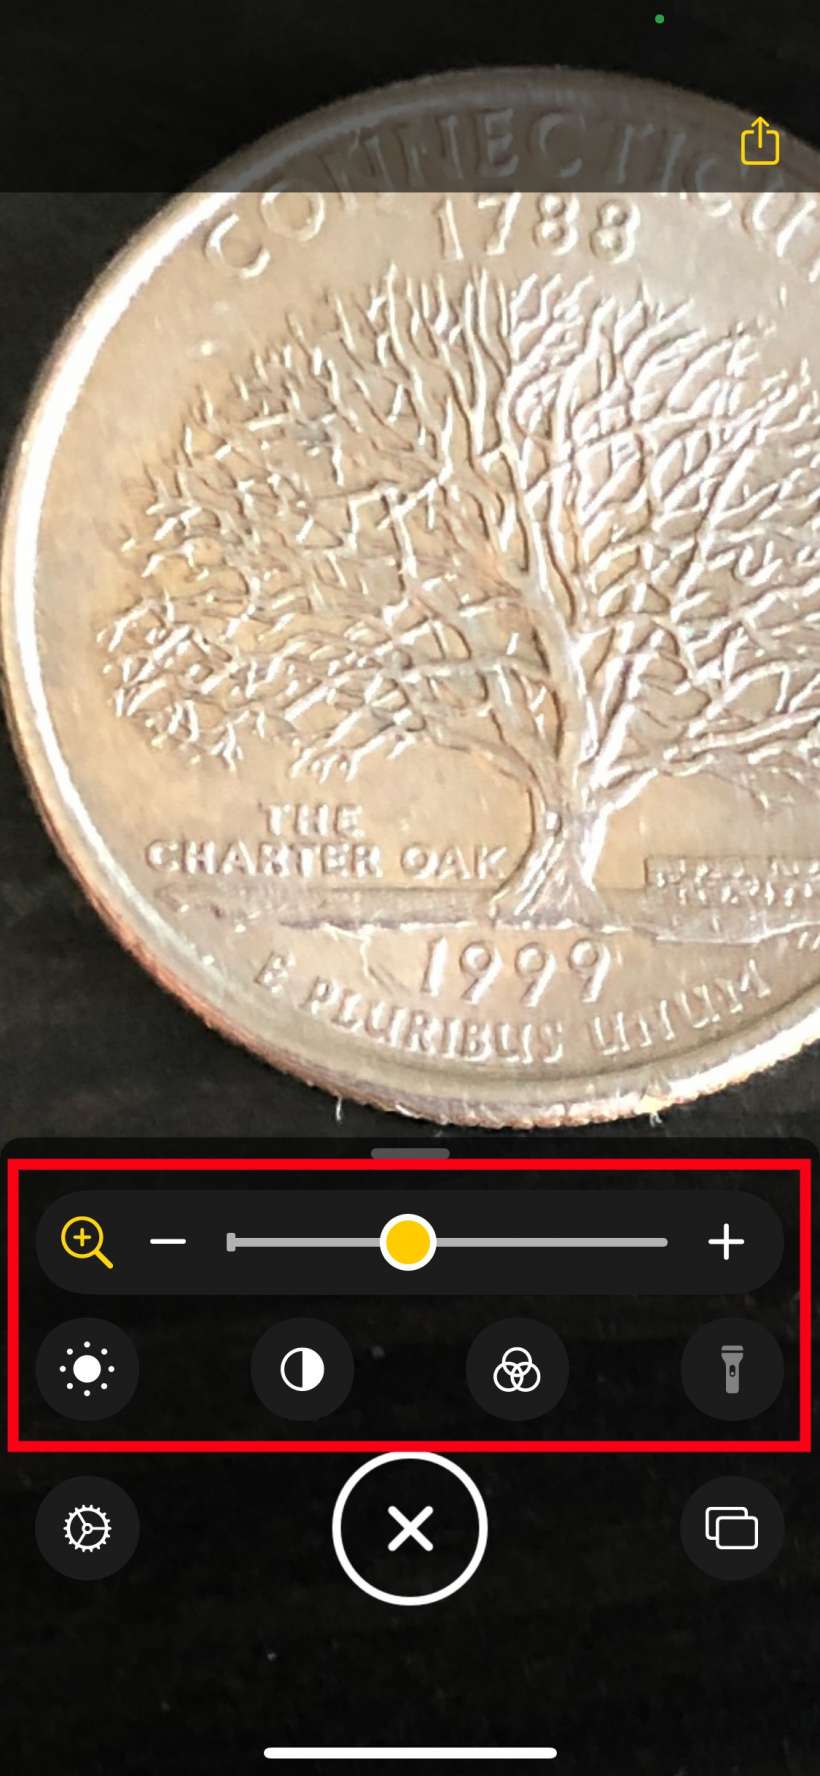
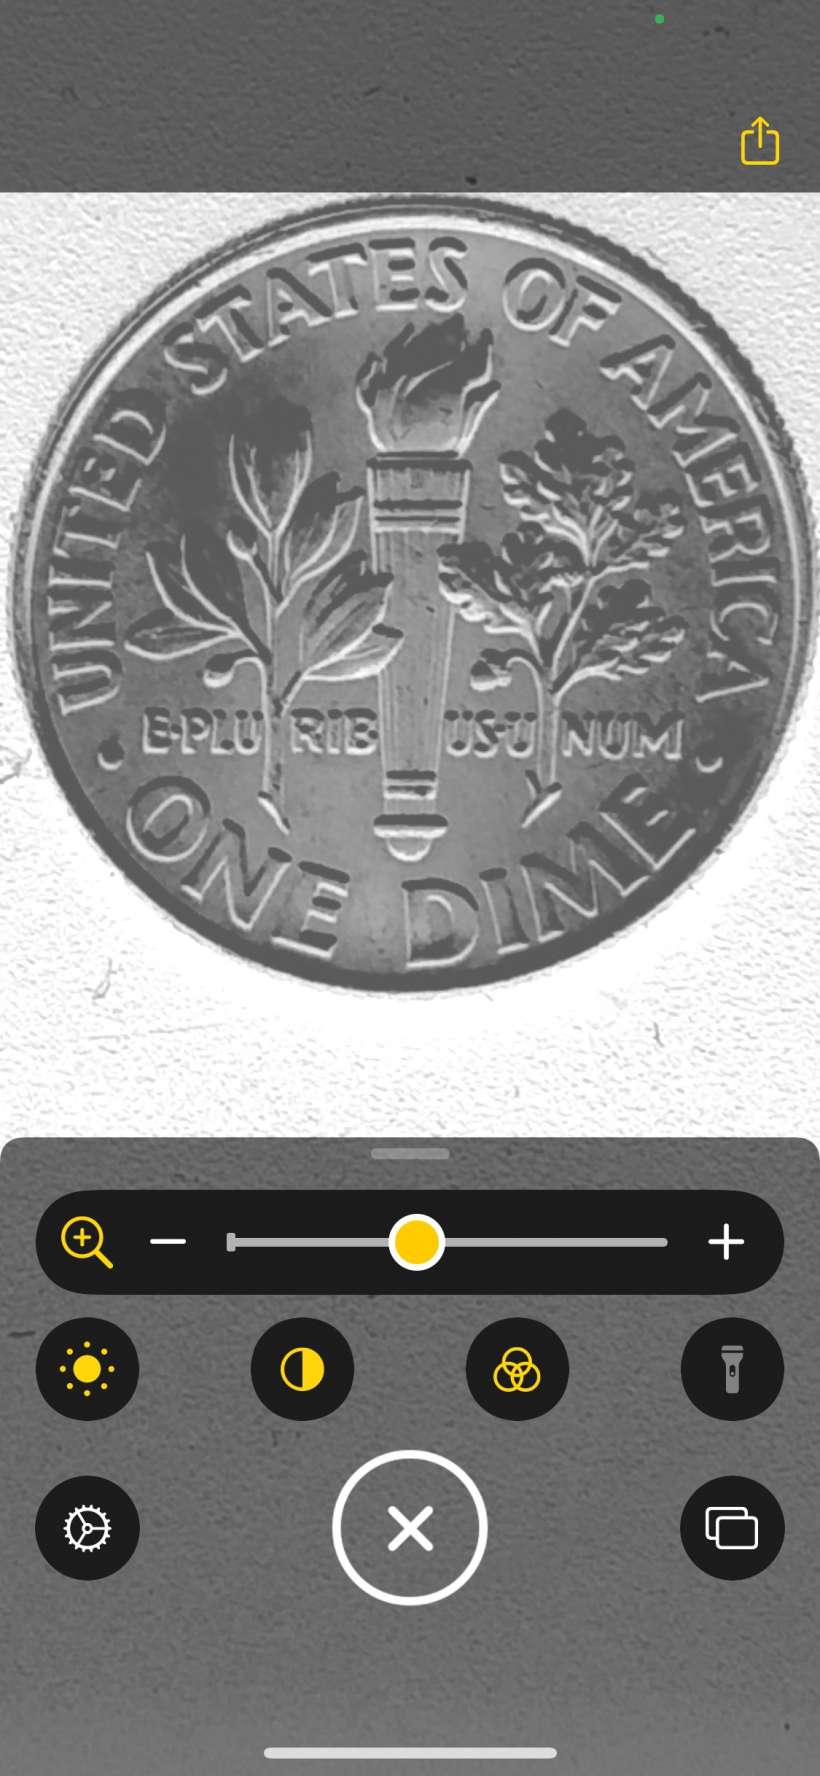
- Once you open it you will see the Zoom control slider at the top of your controls. Underneath you will see buttons for brightness, contrast, filters and flashlight. You could adjust brightness and contrast in the previous version and use filters, but now there are several new color filters available that could help distinguish details on your subject and Flashlight is a new addition as well.
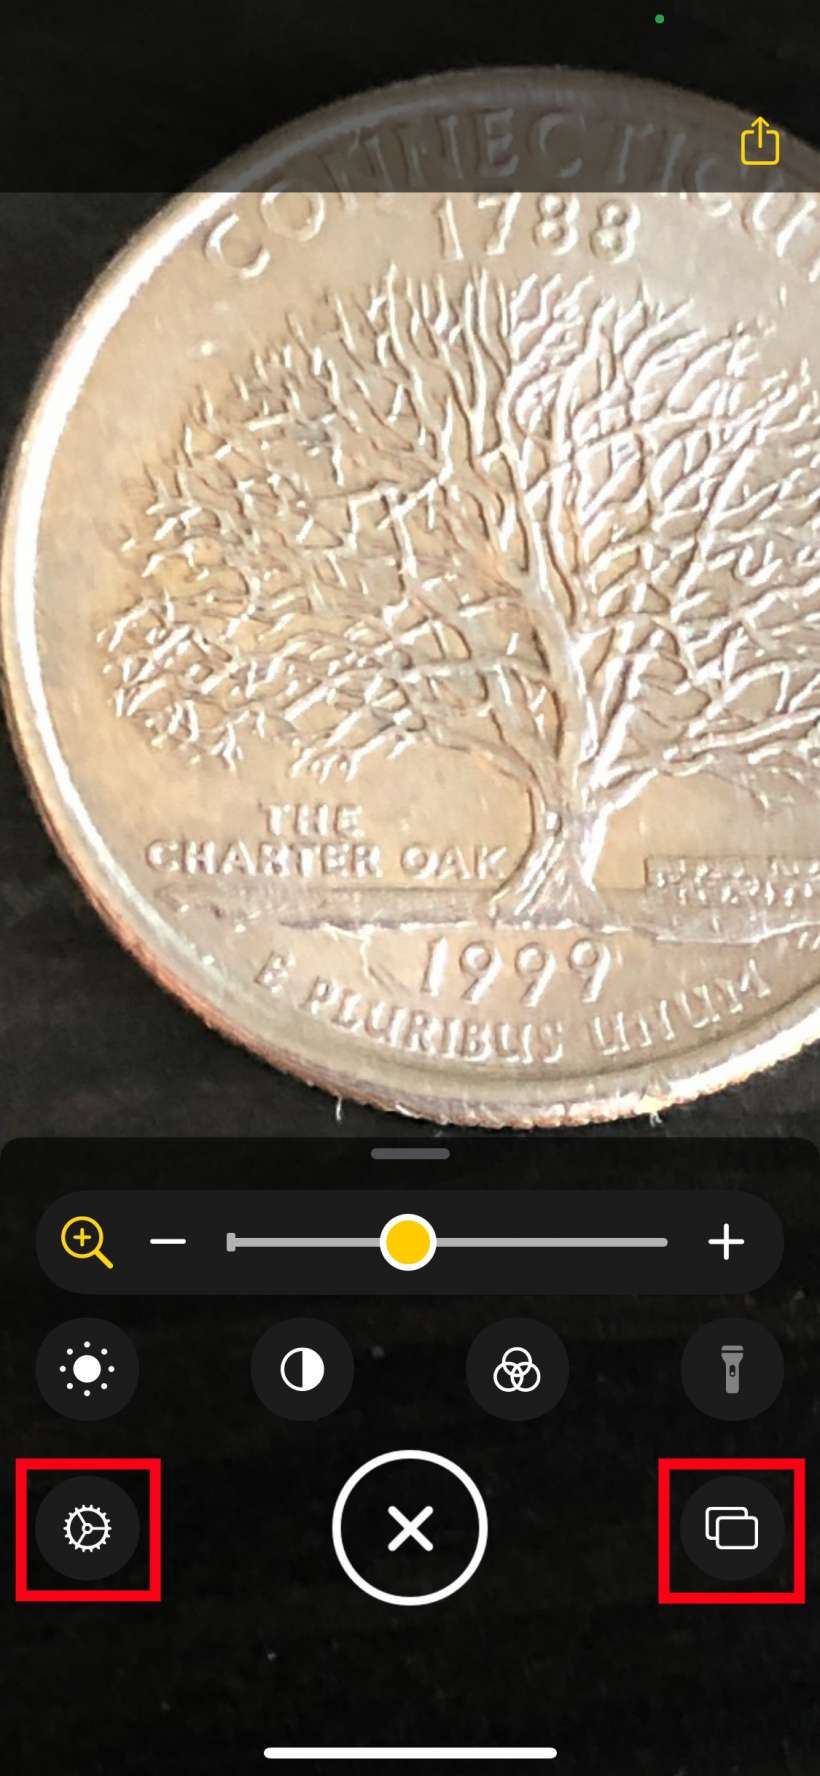
- The two major new features are to the left and right of the shutter button. The gear button to the left lets you customize your controls.
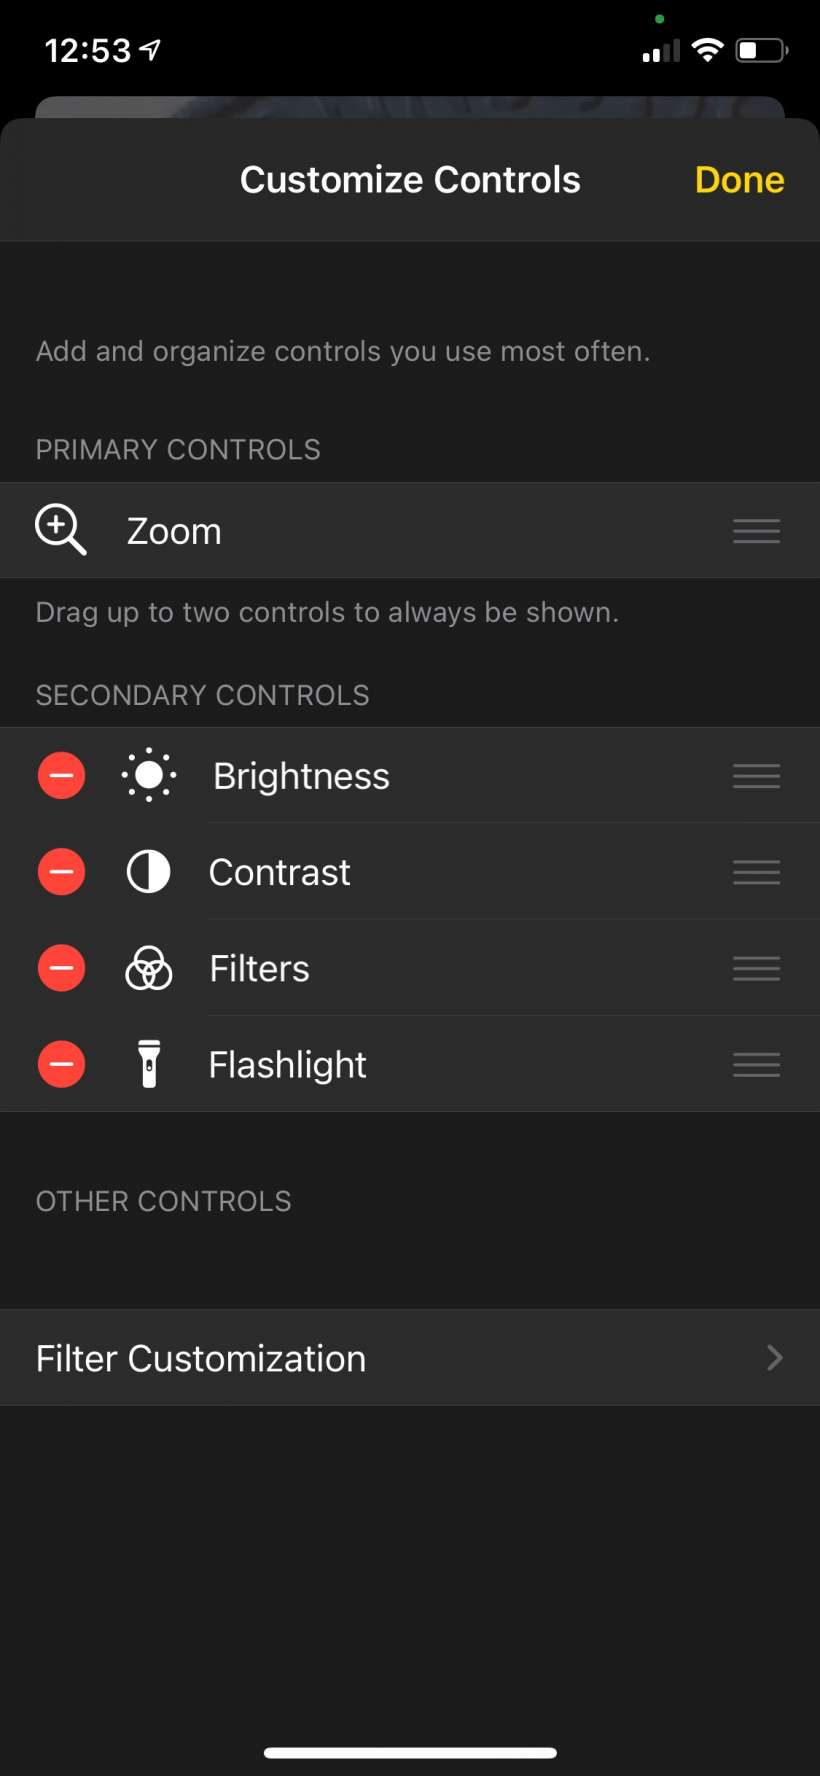
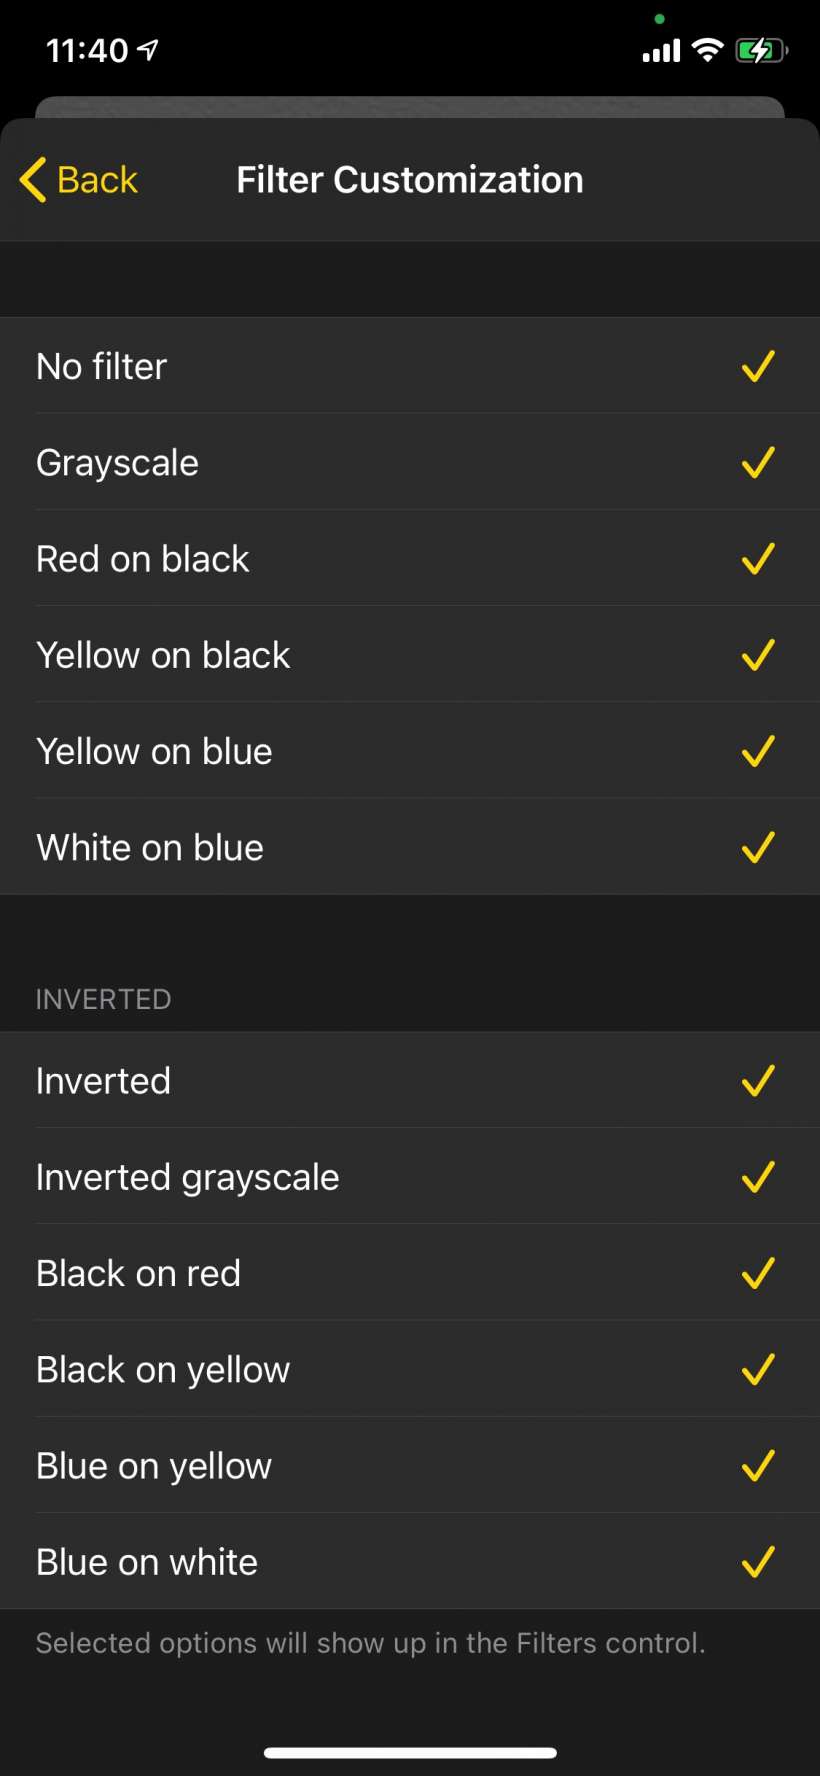
- Under Customize Controls you can change your Primary Controls or add an additional one (you can have two total). To add a second one just tap and hold the three-bar button to the right of it, then drag it up to the Primary Controls section. If you have controls you never use you can hide them by tapping the "-" button next to them. You can also hide filters you never use by unchecking them under Filter Customization.
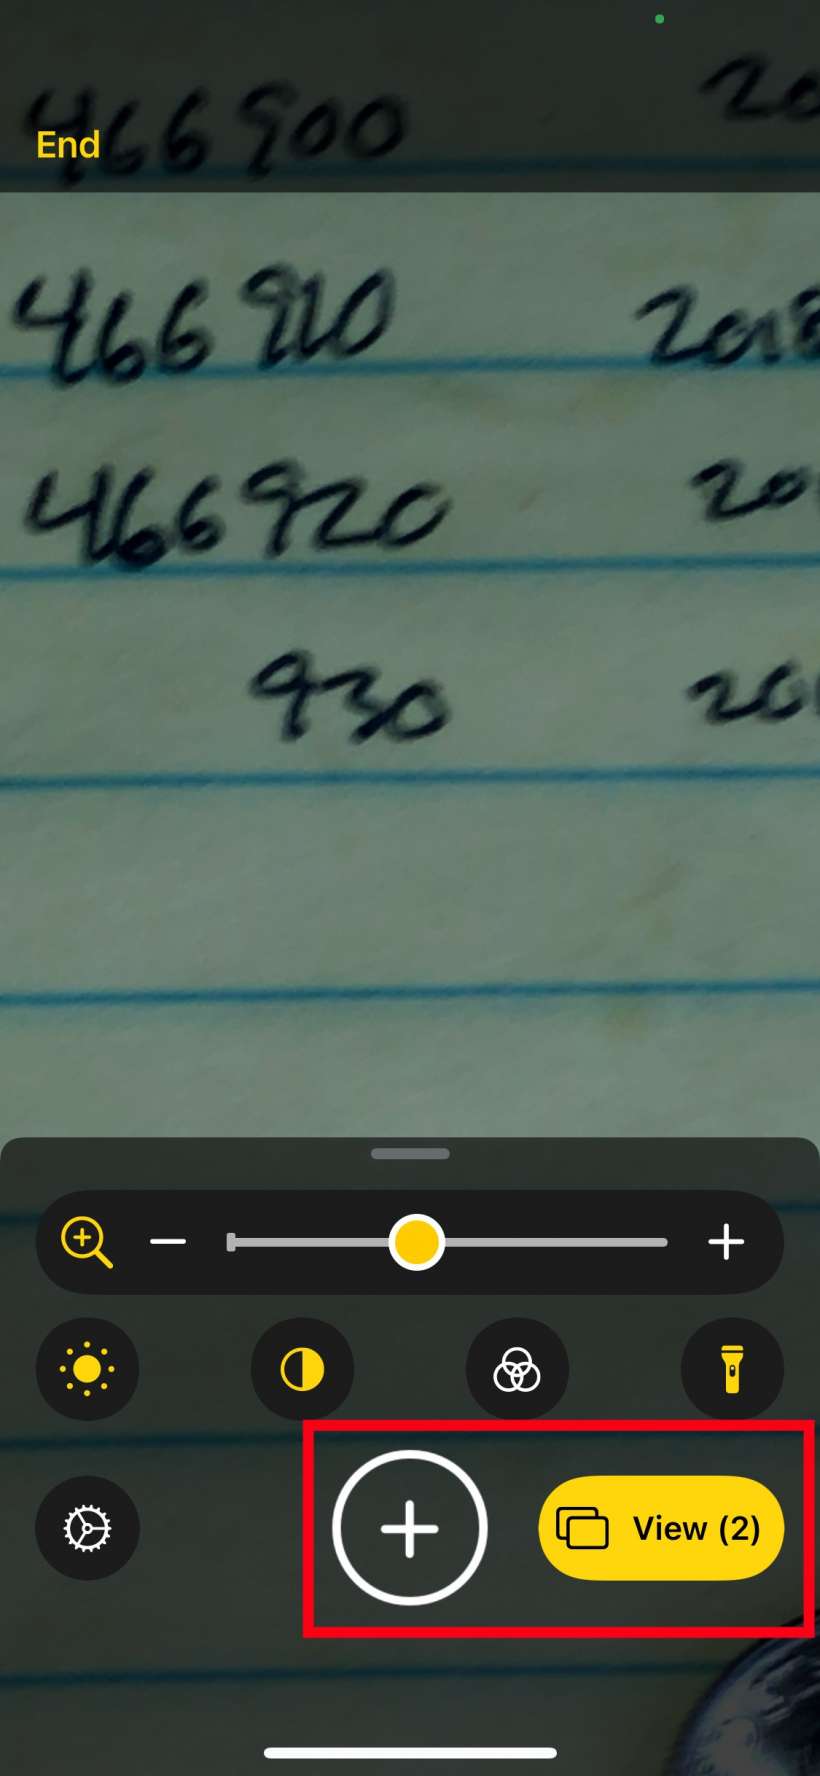
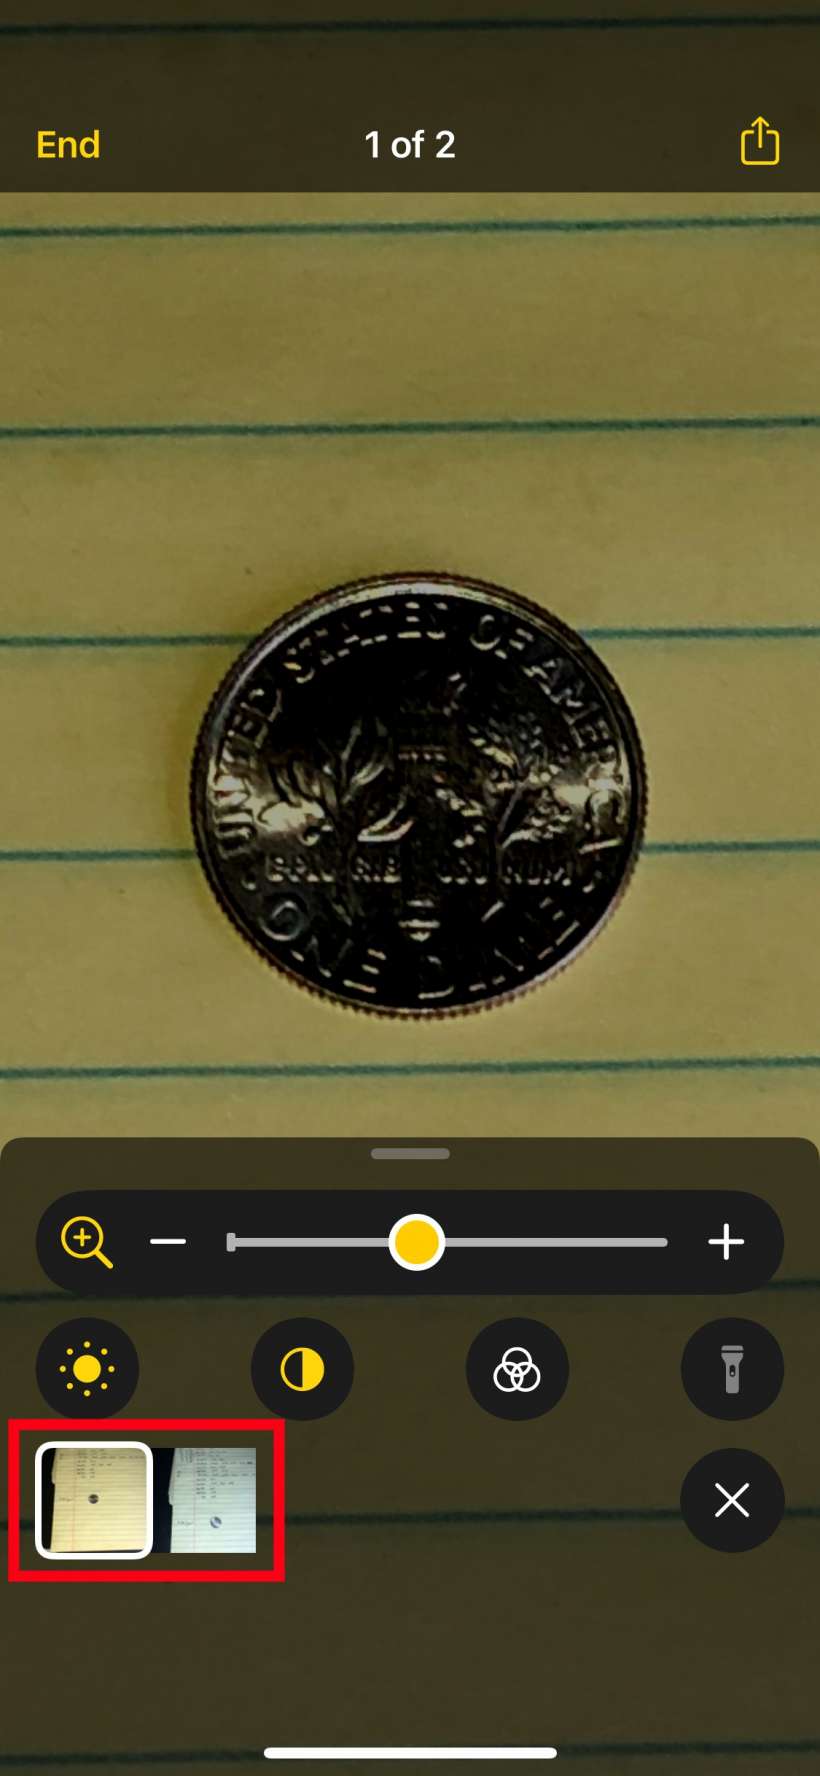
- The other new feature to the right of the shutter button lets you take multiple photos. Previously, if you were trying to look at, say, a two page menu, you would take a shot of one page then zoom in and look at it. Then you would move to the next page. If you wanted to see the first page you'd have to start over again and take another snapshot. Now you can take a bunch of snapshots and quickly move between them. Just tap the multi-shot button and take your pics with the shutter button (which will now have a "+" on it). You will see your number of shots just to the right of "View." When you are finished taking snapshots, tap the View button to start viewing/altering them. You can scroll between your shots at the bottom left.
