Submitted by Fred Straker on
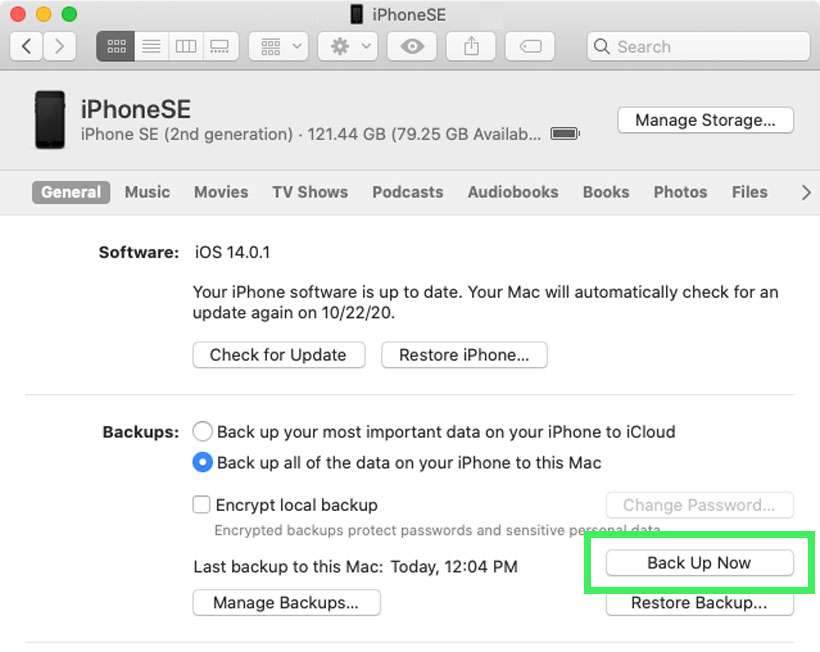
Mac users may have noticed there is no built-in way to change where macOS (formerly iTunes) writes backup information. This means every time an iPhone, iPad or iPod touch is backed up to the computer using Finder, it automatically uses the local drive. Rest assured, it is possible to tell your Mac to put backups on an external drive. Once the steps below are implemented, all iOS backup data will be saved to the new location.
To trick Finder into putting backups on an external USB or eSATA drive, the standard backup location must be linked to a folder named "Backup" on the external drive. Also, once the old backup directory is renamed, it can be moved to the external drive, which saves additional storage on the computer. Follow these instructions to change the Finder (or iTunes) backup location on OS X or macOS:
- In the Finder navigate to Applications -> Utilities -> Terminal and open the Terminal app.
- Go to the MobileSync directory on your Mac by entering the following command at the Terminal prompt:
cd ~/Library/Application\ Support/MobileSync
- Rename the old macOS (or iTunes) backup folder with the command:
mv Backup old-itunes-backup
- Create the new backup directory on your external drive. Note: Always replace "pingo/ios-backup" with the name of your own drive and folder:
mkdir /Volumes/pingo/ios-backup/Backup
- Create a symbolic link with the command:
ln -s /Volumes/pingo/ios-backup/Backup ~/Library/Application\ Support/MobileSync/Backup
- You can check the symbolic link using:
ls -l
- To free more storage space on the Mac, you can move the old backup from your computer to the external drive:
mv old-itunes-backup /Volumes/pingo/ios-backup/.
- Once the above steps are complete, run a new backup of your iOS device.
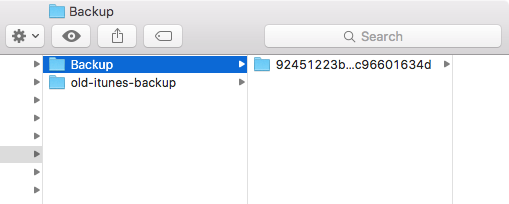
- Open a Finder window and navigate to the external drive. Check the new backup directory to verify the Mac successfully wrote backup data to the new location.


From now on, make sure this external drive is mounted to the Mac before running an iPhone or iPad backup.

Comments
Dansoloist replied on Permalink
Thanks Fred! You brought an end to a couple of hours of frustration as the old method using the Symlink was not working on Sierra.
AC replied on Permalink
Hi, I made mistake, when I check (step 6) symbolic link: I get: lrwxr, etc on pingo..... how do I delete that again via terminal so I can address again to my own name of ext. HDD?
AC replied on Permalink
To be clear: how can I delete a symbolic link and make a new one (or overwrite)?