Submitted by Fred Straker on
Nintendo Switch fans looking to share their favorite gaming moments can easily transfer screenshots right to their smartphone. All it takes to snap a screenshot or record a video on the Nintendo Switch is to tap or long press the square button on the left Joy-Con. These photos are collected in the Album and stored in memory on the device. Getting them to the iPhone means they can be posted or shared using any app.
The only things needed to send screenshots between these devices are the Nintendo Switch and the iPhone themselves. Pull the Nintendo Switch off the base and make sure both Joy-Con controllers are connected.
Follow these steps to transfer Nintendo Switch screenshots and videos to the iPhone or iPad:
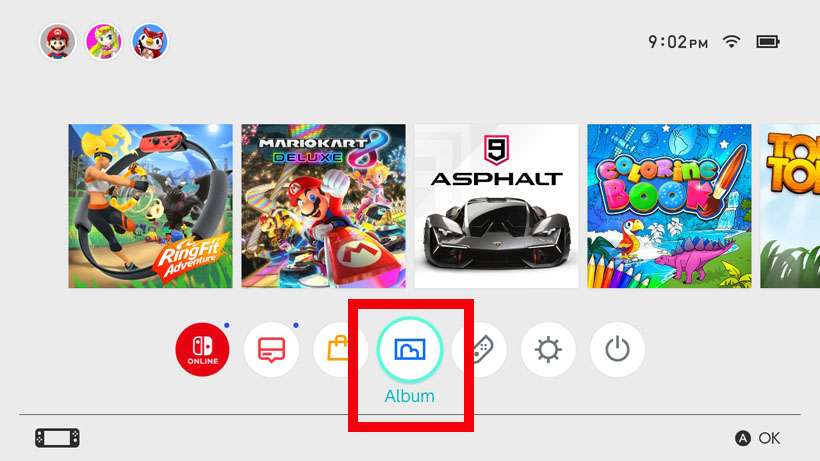
- On the Nintendo Switch, launch the Album
- Select the screenshot to transfer
- Tap the A button for Sharing and Editing
- Choose Send to Smartphone
- Select Only This One or Send a Batch
- On the iPhone, launch the Camera app
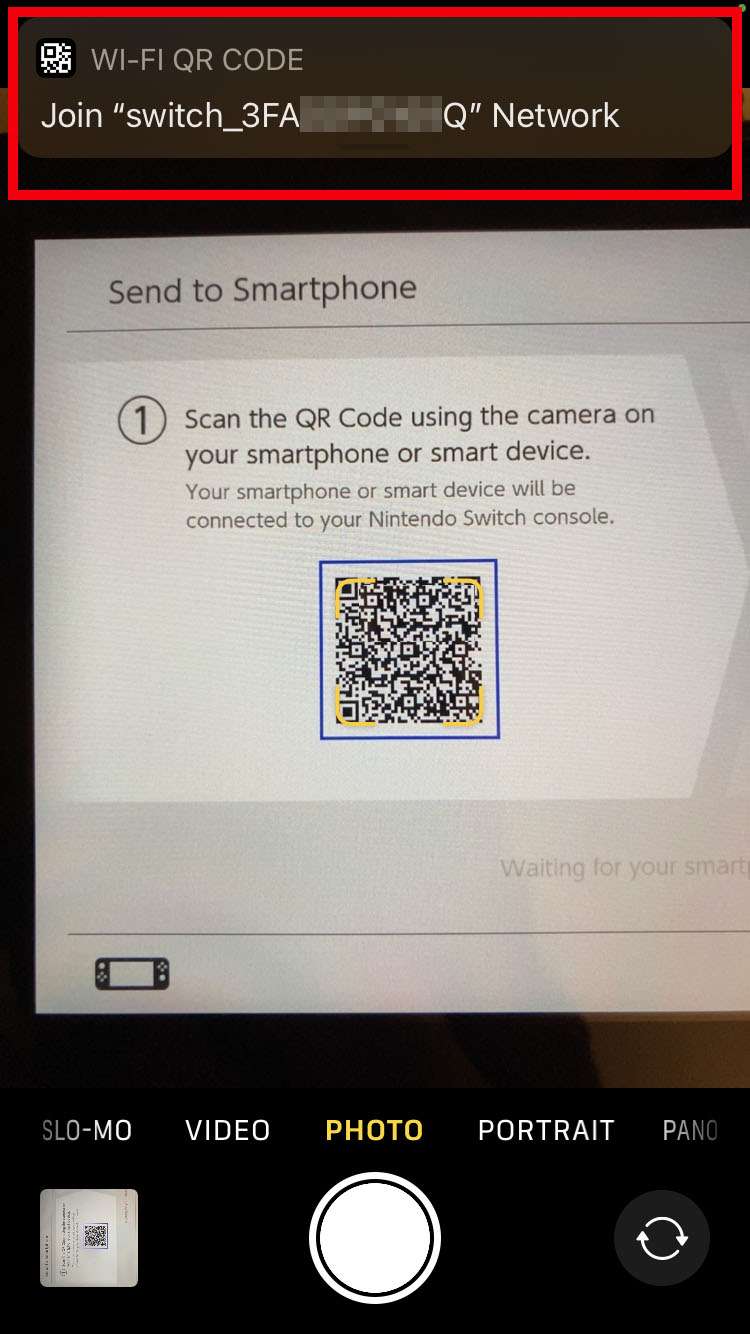
- Use the iPhone to scan the first QR code on the Nintendo Switch
- Tap the Wi-Fi QR code banner to join the network
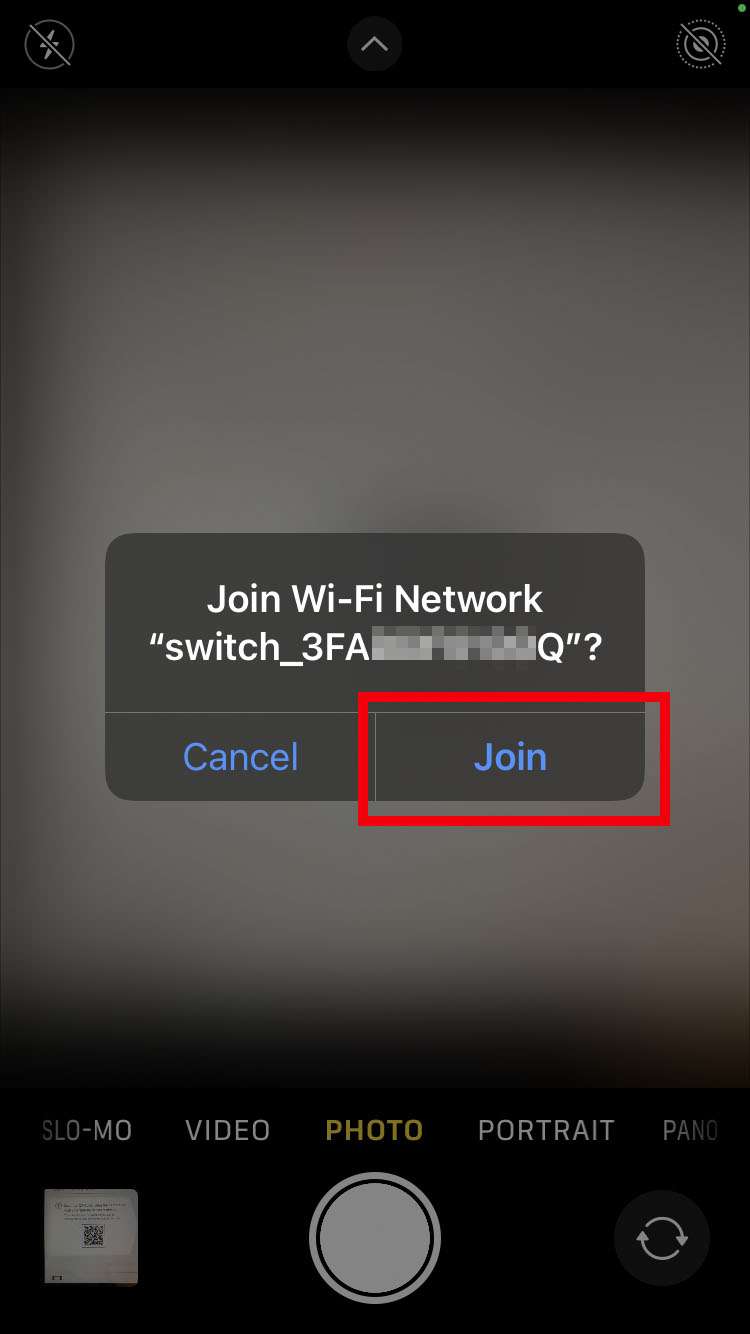
- Tap Join
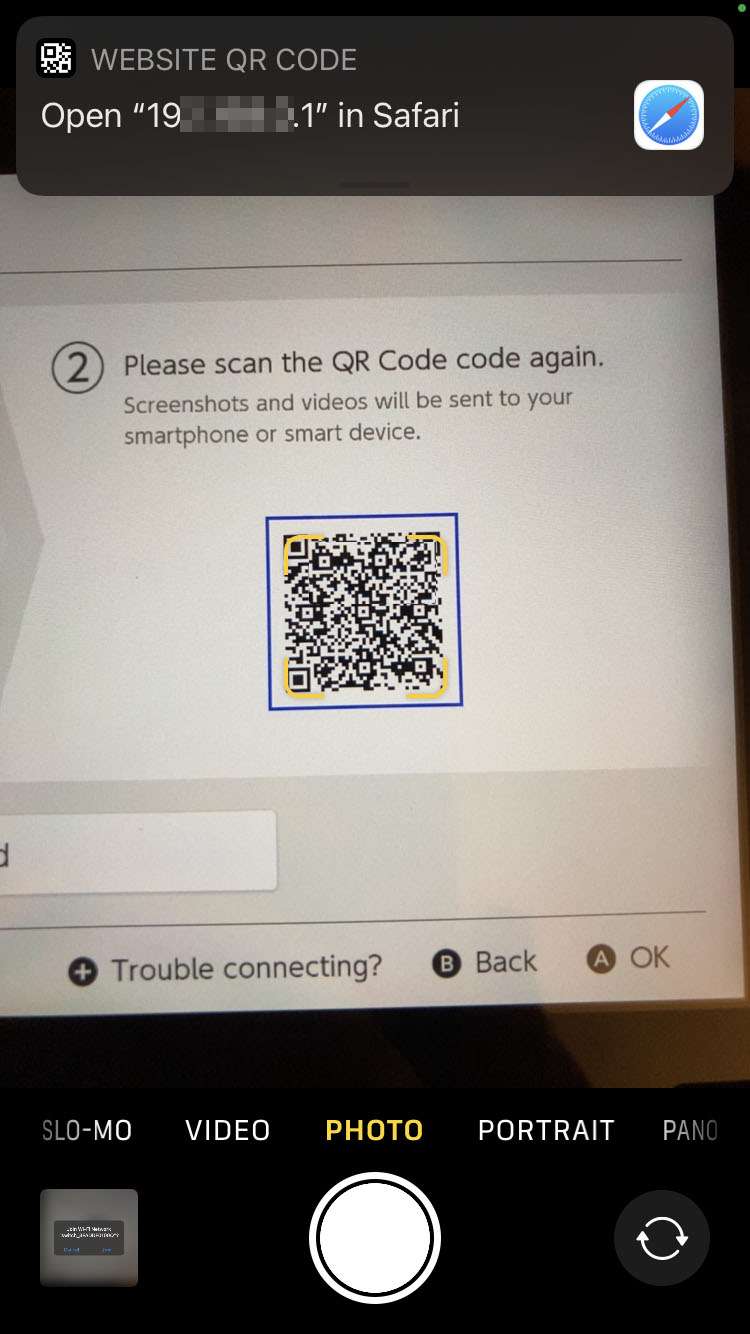
- Now scan the second QR code on the Nintendo Switch
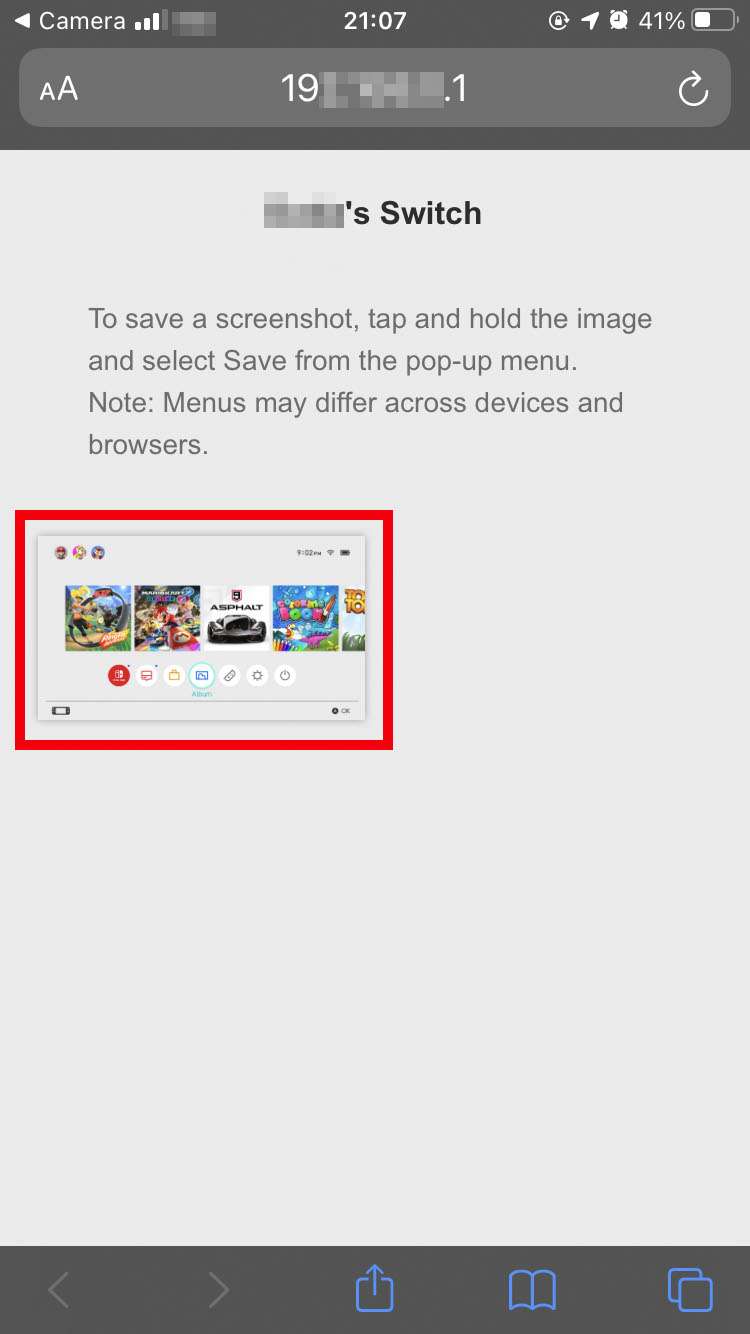
- Tap the website QR code banner to launch Safari
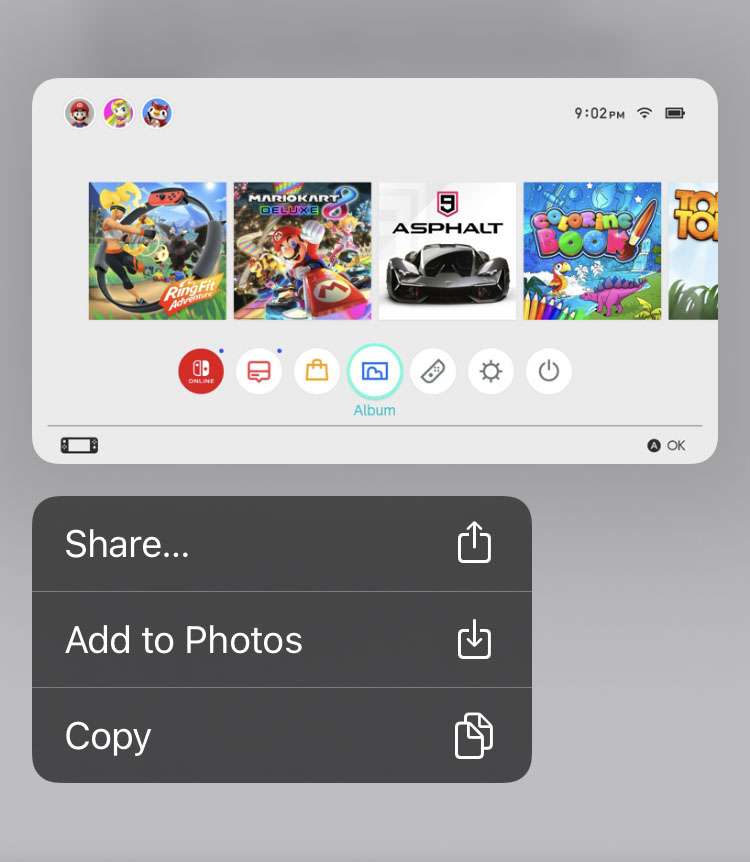
- After Safari launches, tap and hold the screenshot to transfer
- Select Share, Add to Photos, or Copy to use the photo on iPhone
